Your cart is currently empty!

Fringe Sweater DIY

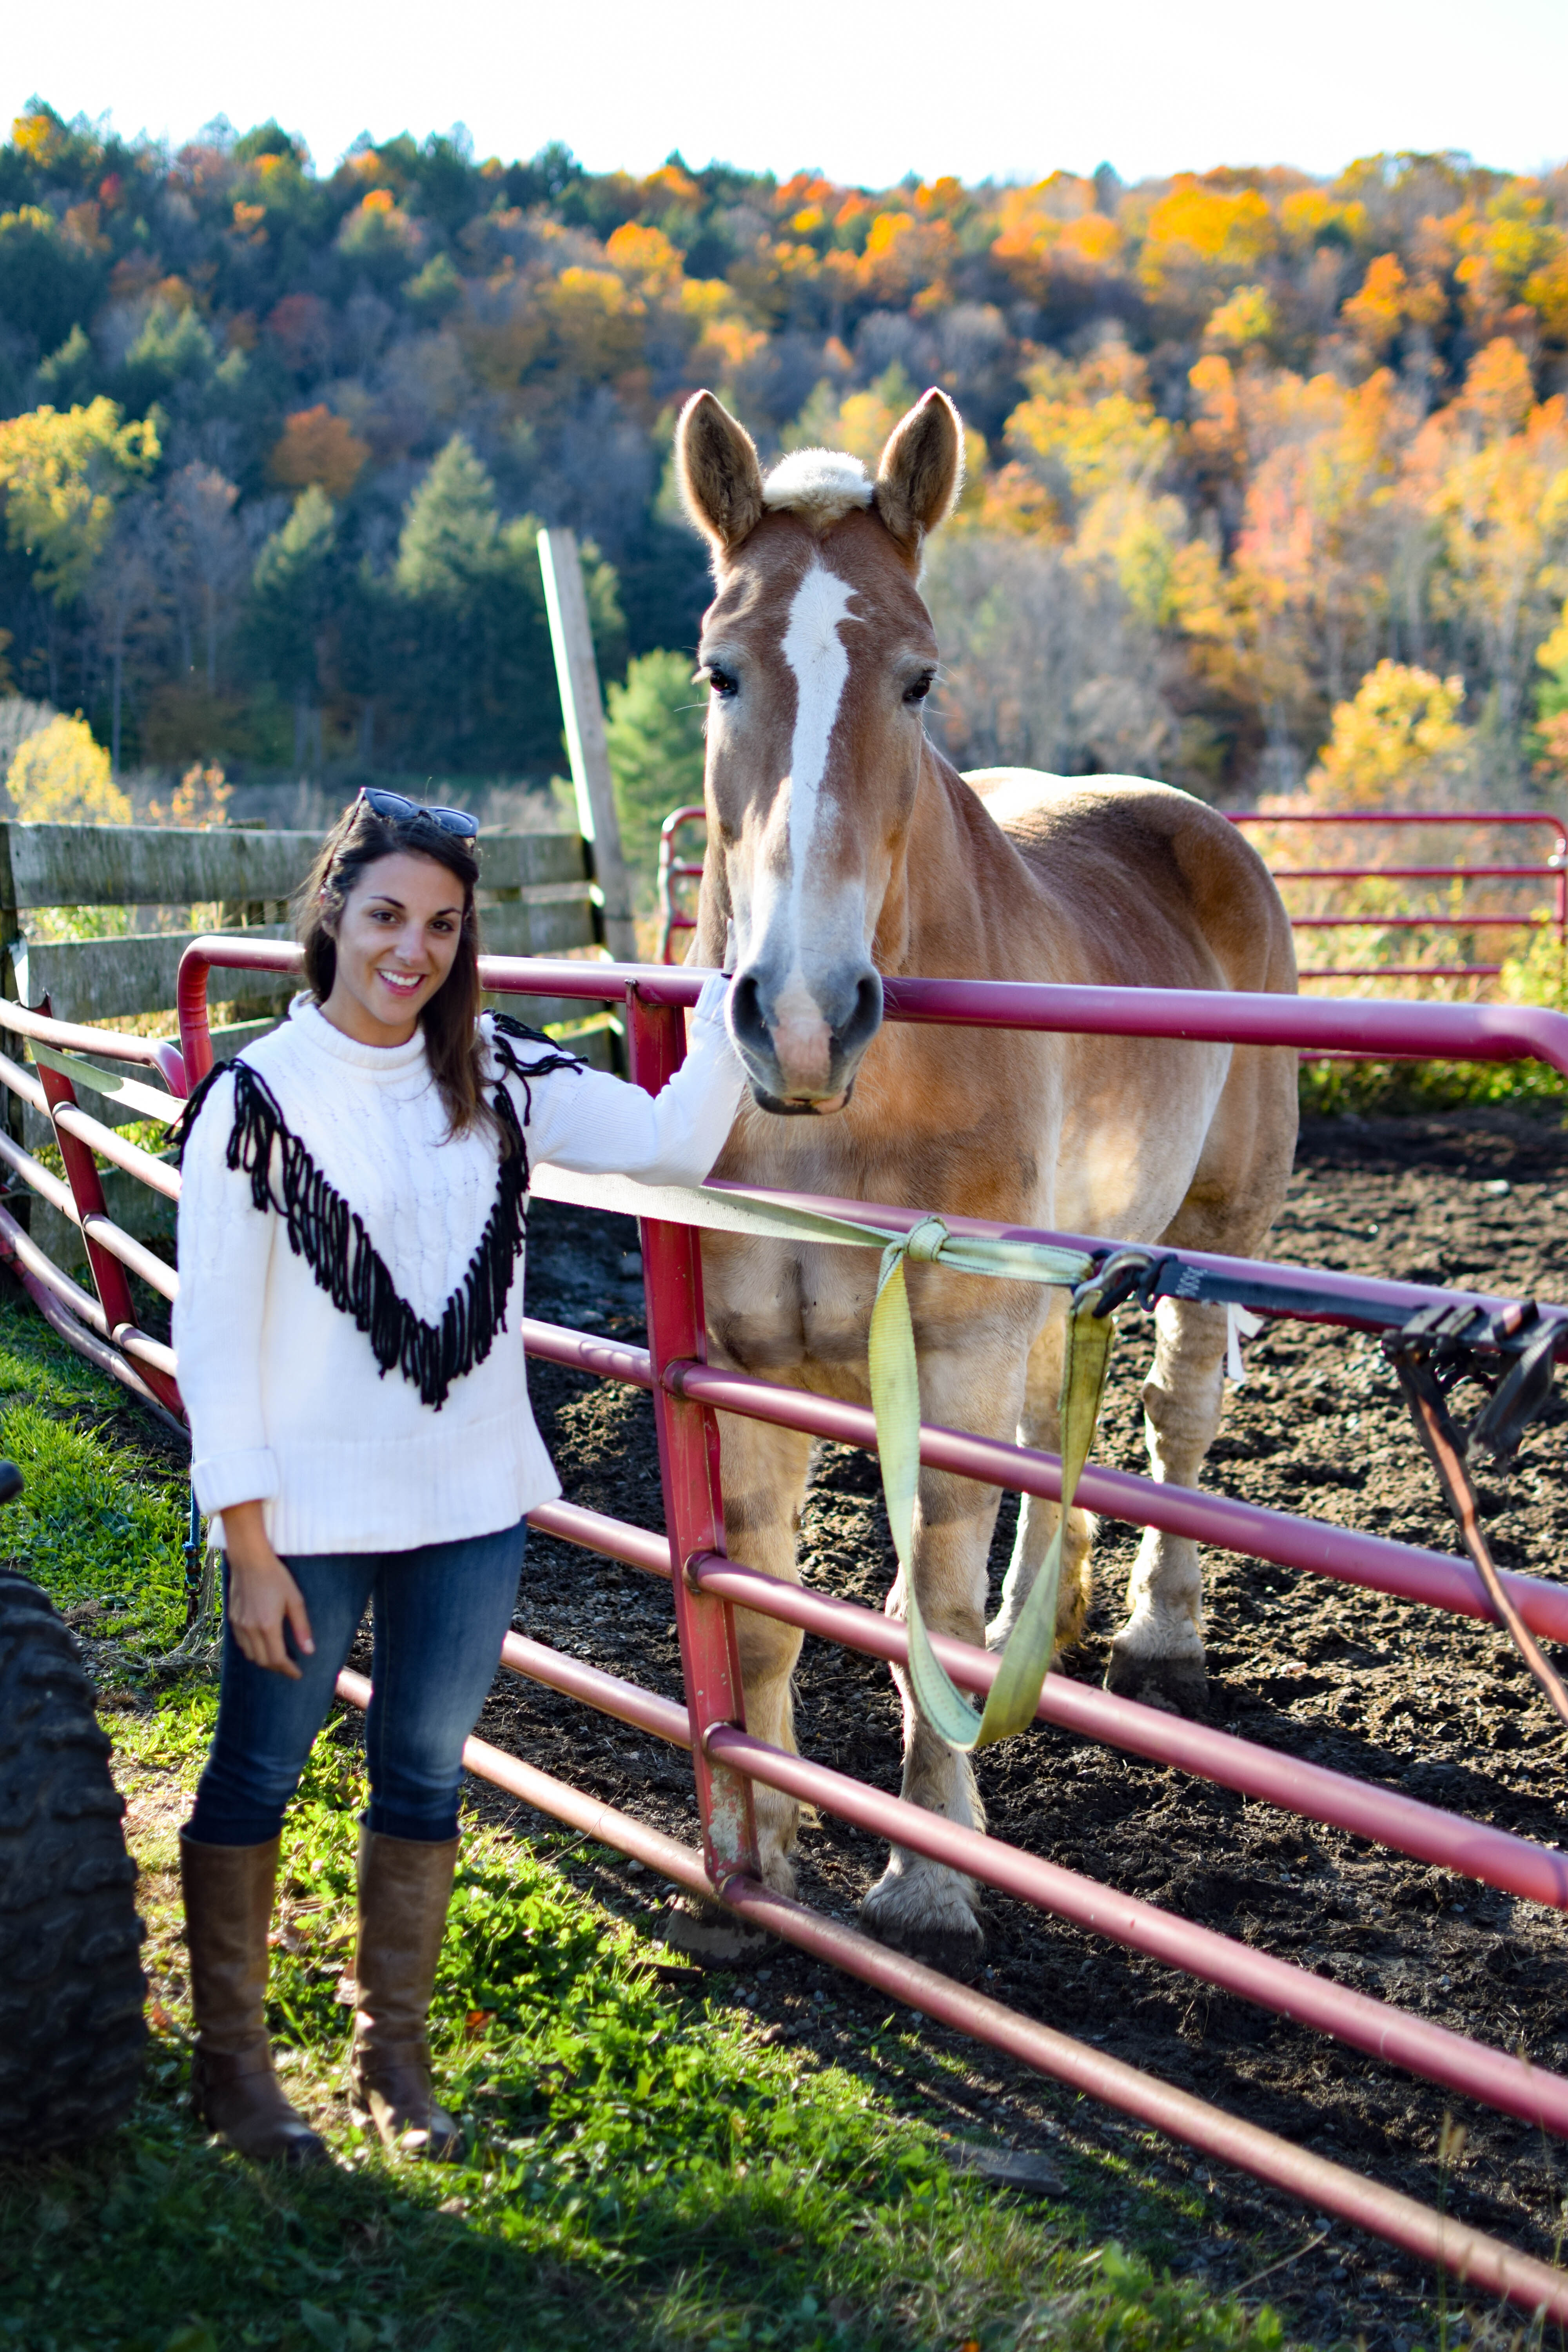
When people ask me my favorite season, I say sweater. My wardrobe is filled with gorgeous knitted pieces of all colors of the rainbow. From graphic to fringe, I have it all (and probably a tutorial for it). Looking through recent fashion trends, I’ve fallen in love with the fringe sweater. Since I have so many great knits in my closet, I figured it was high time for a fringe sweater DIY.

Having an abundance of knitted pieces as well as extra yarn, I knew creating one would be super easy to make! This no sew tutorial is easily completed on the couch, by the fire, watching a Hallmark movie. Trust me, I know 😉
Another amazing thing about fringe in general is that it doesn’t have to be perfect – The shag look is in! So, this easy tutorial is great even for the not to craft nimble.
I’ve also created some other amazing sweater DIYs if you are looking for more projects, including this anchor sweater tutorial, this bow sweater and this granny sweater cardigan.
Materials for DIY Fringe Sweater
1 Skein of chunky yarn
Crochet hook
Scissors
Sweater with loose, braided knit

Instructions
Step one: Cut 20-30 pieces of yarn that are 12 inches long.

Step two: Loop the head a of the crochet hook through the knit. A looser knit sweater works best for this project because this step will be easier

Step three: Fold the yarn in half and place on the crochet hook. Pull through the knit to form a U-shape.

Step four: Place the ends of the yarn through the loop in the yarn to create a knot.


Step four: work down the sweater on diagonal to meet in the middle. Once all yard is secured and fringe is to desired thickness, trim to create a more finished look.


Leave a Reply