Your cart is currently empty!


If the world laughs in flowers, there’s tons of laughter at the Carlsbad flower fields. Tourists (mostly bloggers) from every corner of the world flock to the annual extravaganza of the blooming ranunculus fields in southern California. Before going to Coachella, we flew in to San Diego to visit some friends before traveling to the desert. One of our stops on the journey (by request of yours truly) was the Carlsbad flower fields. I just had to see the spectacle for myself.
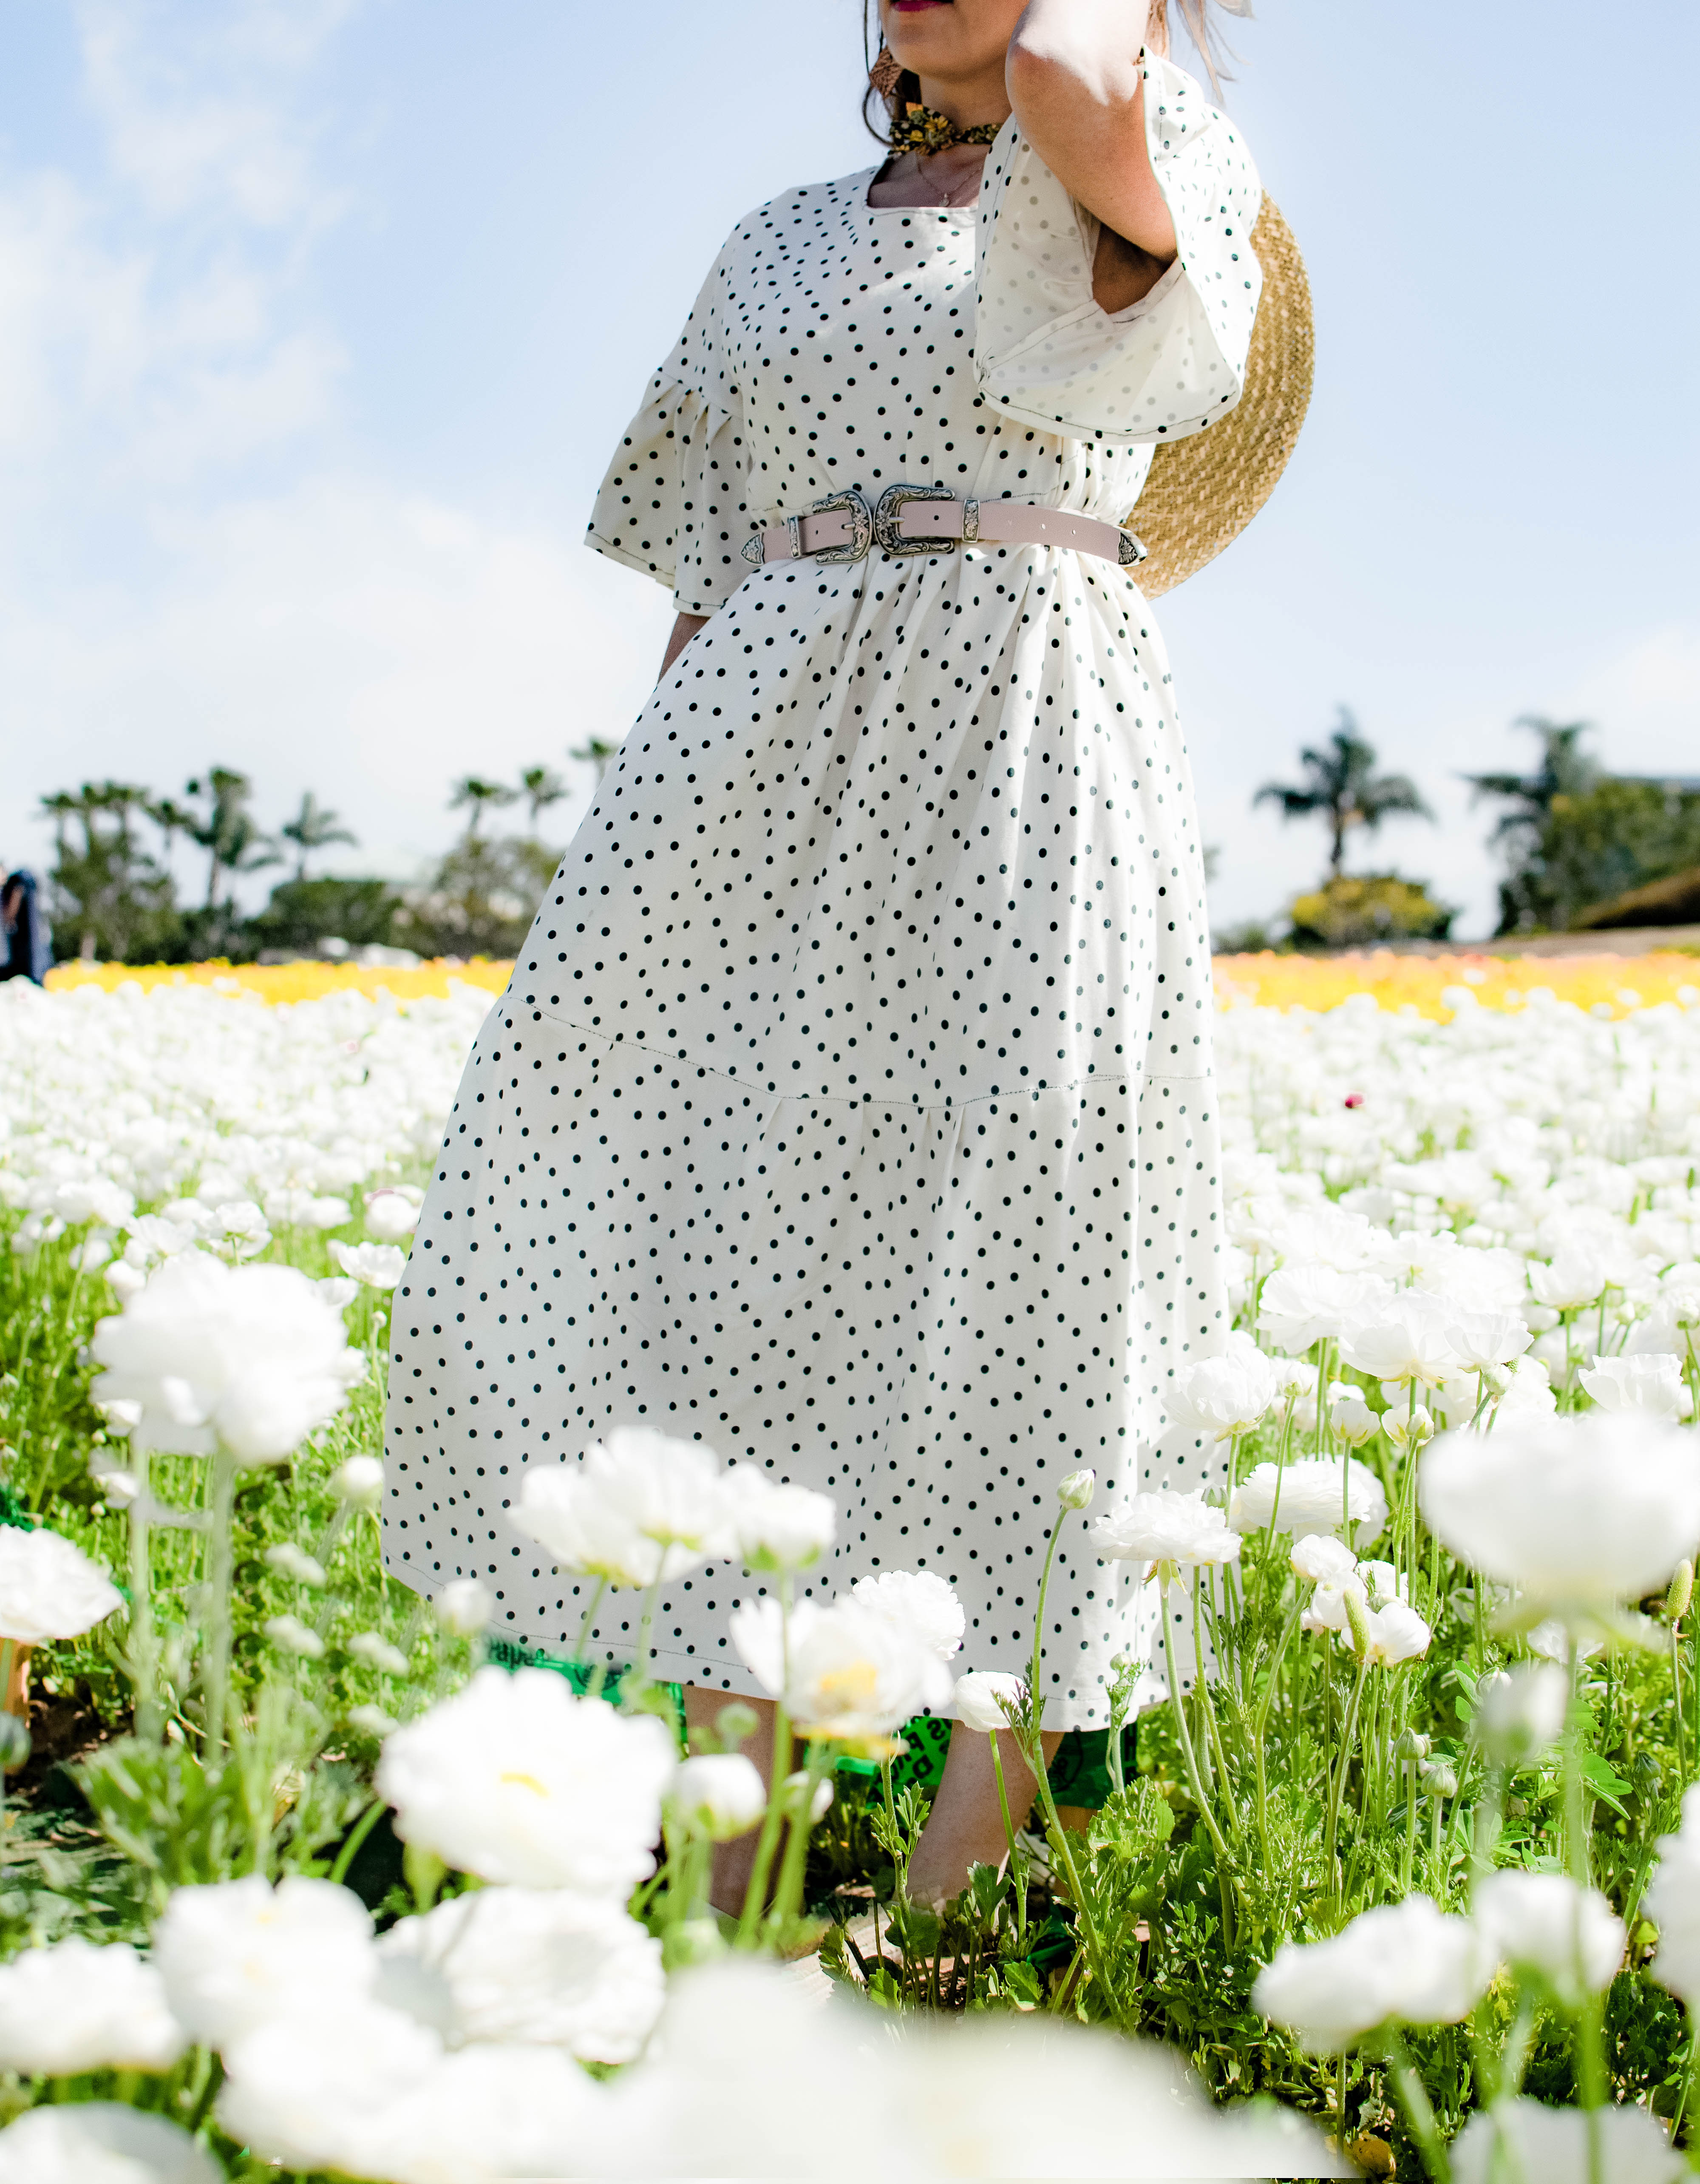
To the experience I wore my newly created polka dot tiered dress. Along with some tips on how to best plan your trip to the Carlsbad flower fields, I’m teaching you how to create this comfortable jersey dress.
I made this dress from a custom printed jersey fabric that i designed via my fabric designs. I was so pleased when it came in the mail because it was so soft and stretchy. The fabric was a perfect cotton blend, making it incredible easy to work with (especially if you are a beginner!). Yet, my favorite part about this fabric is that it doesn’t fray. can i get an amen?


Not only did this dress hide a full term taco food baby, but it popped against the technicolor dream of the fields.
Before getting down and dirty about this dress design, I’m sharing a few tips about the Carlsbad flower fields. If you are here for the tutorial skip ahead:

Tips for Visiting the Carlsbad Flower Fields
tip 1: come in the morning. this is no best kept secret. In fact, i’m pretty sure they have more instagram followers than many influencers. the fields are filled with people and children by the bus load. get in early, get your pictures, and then get out.
tip 2: rehearse your poses and camera settings ahead of time. this seems kinda silly, but there are lines (yes literally) of people waiting to get the shot. it takes a lot of time. If you have to revise your shot you have to wait again- so, get it right the first time with test shots and poses
tip 3: bring your walking shoes. the paths here (it is a farm after all) are dirt. if you walk a little ways away from the entrance where small children, strollers, and elderly tourists can’t easily reach you can also get a more rustic shot.
tip 4: rainy days are the best days. I always love shooting and outdoor activities on rainy days for 2 reasons: the first is that the lighting when overcast is much better for photos. there is nothing worse than harsh direct sunlight. the second, most obvious reason, is that salty weather may also keep many tourist groups away.
now onto the tutorial…


Materials
3 yards of jersey fabric
matching thread
Instructions
step 1: using a t-shirt as a stencil. cut out the bodice, or top as shown. it helps if you cut your bodice a little shorter than the t-shirt bottom (about 6 inches). this will make your bodice piece end under your ribs instead of at your waist.

step 2: creating your tiers: now this involves a little math. I didn’t scare you off, did i?
I made a little cheat sheet here that i’m going to explain. In order to create a cute ruffle and room to hide the food baby, you need 1.5 times the length of whatever you are attaching the ruffle to. So, in this case the measurement “x” represents the length of one end of your bodice piece. Since “x” represents half the way around your body, we are going to multiple x by 2. this is going to give you the circumference of your bodice.
Tier 1: is going to be your bodice circumference, or 2x, times 1.5. So 3x is your length.
Tier 2: is going to be the circumference of the bottom of tier 1. Since tier 1 is 3x long, tier 2 will be 4.5x long.

step 3: finish the neckline by folding the raw edge over and straight stitching on top.

step 4: right sides together, attach the bodice at the shoulder seams. Then sew from the end of the sleeve to the end of the bodice.
with right sides together, sew together your tiers on the raw edge to create a “tube”

step 5 & 6: bast (loosely stitch) the top of each tier all the way around about 1/2 inch from the top of the tube you created. Next, pull together edge to meet the bottom of the bodice (as shown)/. Pin, evenly spacing out the puckers, or ruffles, and sew. Repeat this step for step 6.

step 7: this is an optional sleeve ruffle detail. I used scrap fabric and kinda went for it, but if you want that true ruffle repeat the tier math! So, take the measurement of the bottom of the sleeve and multiple by 1.5. cut. sew, bast, and attach similarly to the tiers!


Leave a Reply