Your cart is currently empty!
Hey guys! for those that follow along on my other socials you know that something very exciting happened this week! I started my very own Youtube channel. After months of intimation I finally tried it out and was pleasantly surprised that I could do it (with a lot of help from the internet and Final cut Pro that is).
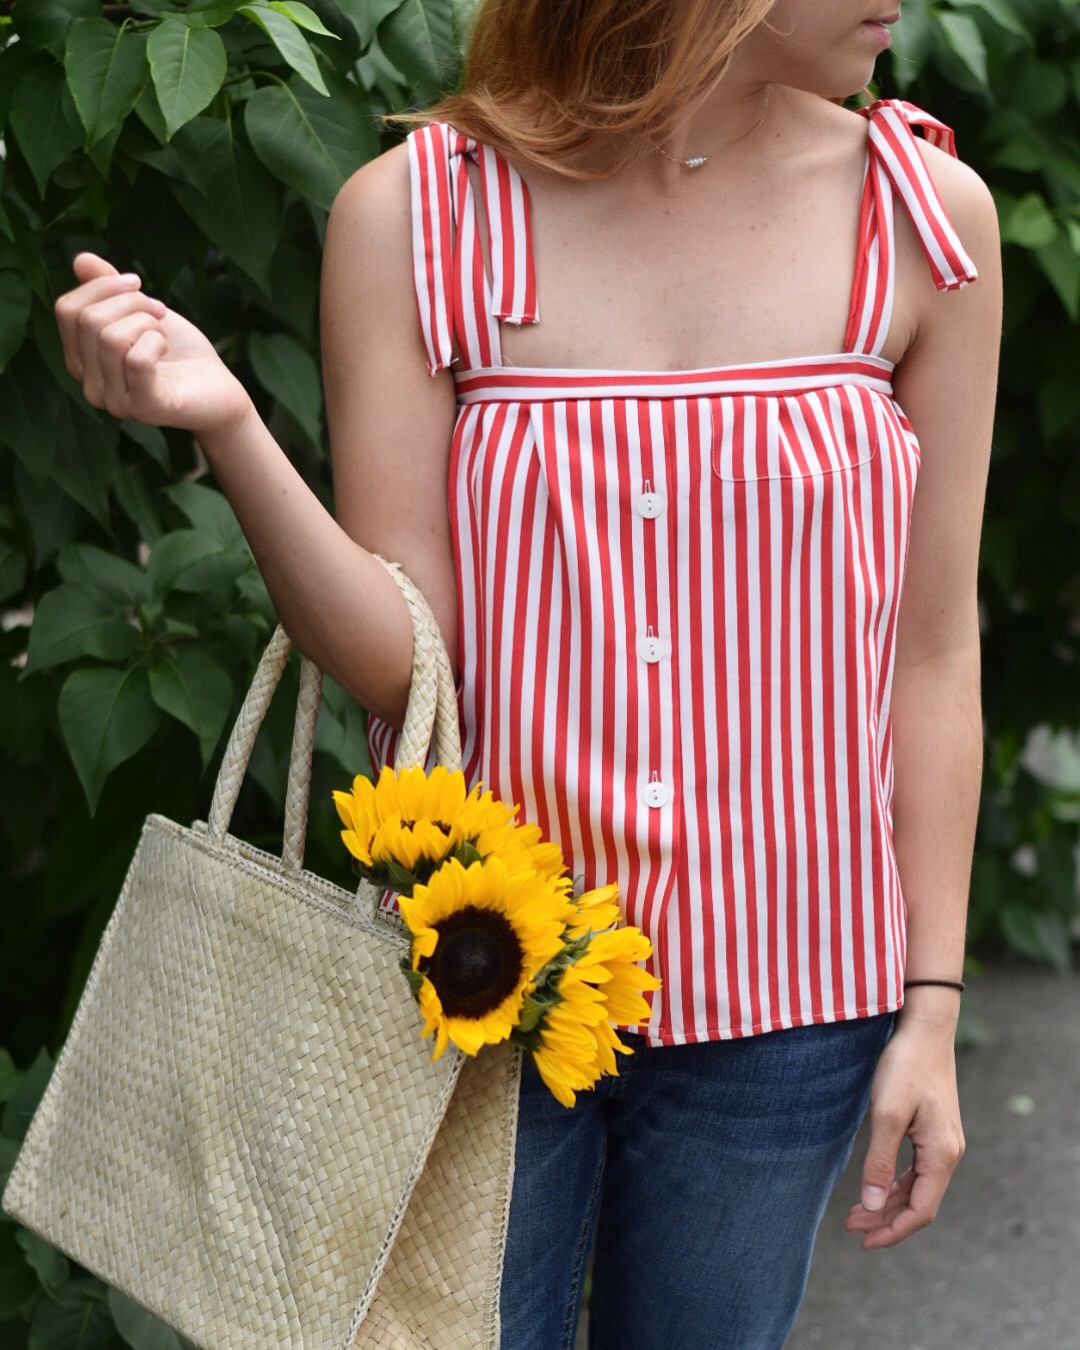
The first up on my channel was this up-cycled Goodwill shirt that caught my eye with its bold stripe and silky material. It was much too big and had shoulder pads (what?) so it needed a facelift. With all the bows, ruffles, and gingham this season it’s certainly all about a good detail.
Materials
Thrifted button-down (about 2 sizes too big minimum)
Matching thread
Sewing machine
Instructions
step 1: Cut the desired length of the shirt, removing the sleeves and the neckline. The result should contain the buttons and look like a rectangle.
step 2: Using the discarded sleeves. Cut ~6 strips the length of the sleeve, and 3 inches wide. Four of these strips will be your straps, the other 2 will be the top lining of the shirt (so you may need another strip to cover your bust).
step 3: Fold the strips in half and sew along the seam. Turn right-side out and press
step 4: Measure your bust and add 3-4″. Using two of the finished strips, pin and sew around the top to create this measurement, bunching excess material if necessary.
step 5: Attach straps to the inside of the shirt and sew.
and hey, if you’re not CrafDIY like me, you can shop the same look here
As always would love to see your creations!


Leave a Reply