Your cart is currently empty!

Tie Dye Boxers Using three different techniques

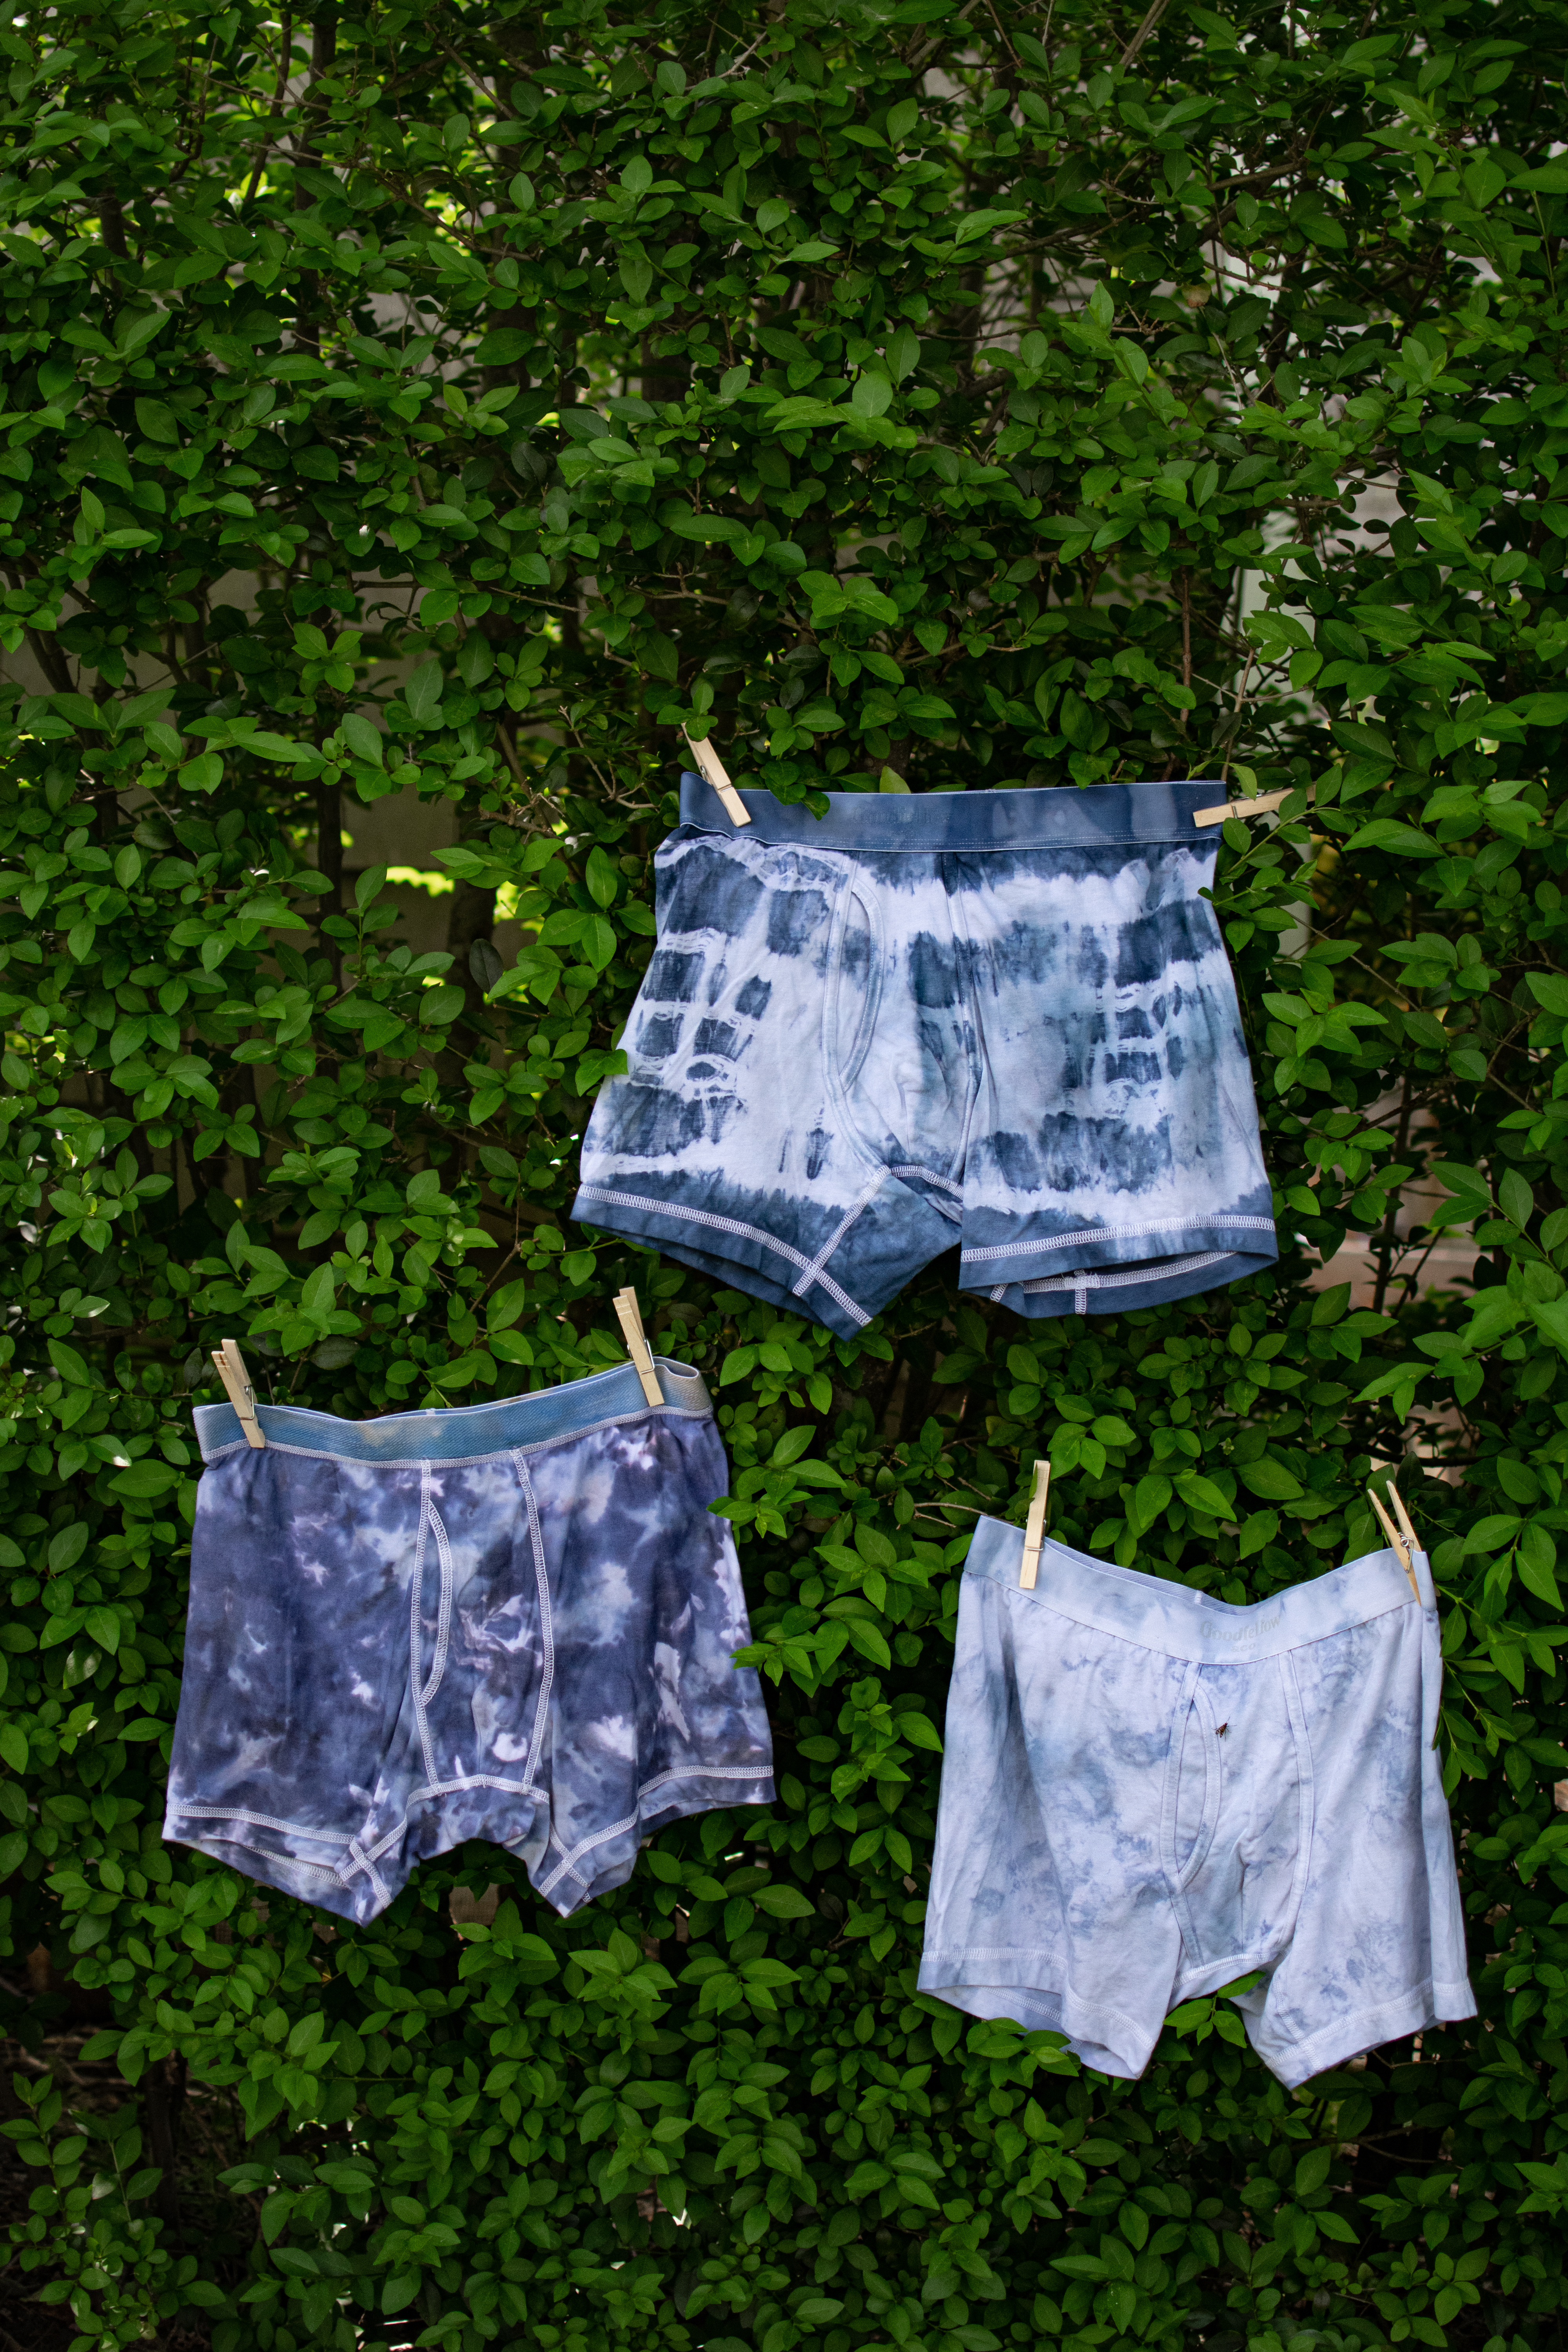
My newest hobby is tie dye. Hide your white clothing, it is not safe in this household. I just love how simple, gorgeous and personal tie dying your garments can make them. In my journey to become a tie dye guru, I’ve experimented with multiple techniques and found they yield very different results.When I found these white boxers at target, I knew they would be perfect for my dying experiment. In this blog post, not only am I showing you an amazing father’s day gift idea BUT how to get different looks using a variety of techniques.
For this tie dye boxer tutorial, I used:
Rit Dye in Denim Blue (powdered) and (bottled)
Soda Ash (to pre treat fabric)
For more detailed tutorials on design, like the scrunch technique, try this tutorial.
Each of these boxers was dyed using the same exact color blue. Then why do they look so different? Well, I am so glad you asked. I cannot wait to show you how to manipulate your tie dye boxers to the exact pattern you want. In this post, I’m going to cover the submerging (or dunk) method, the bottle method, and ice dying. Can you guess which is which?

The Submerging (or Dunk) Method

How to: The submerging method is definitely the most popular for traditional tie dye enthusiasts. For this technique, I used liquid dye and diluted per package instructions into a stainless steel pot. After tying rubber bands across the underwear in my desired pattern, I submerged the entire garment into the dye bath. It stirred the mixture occasionally for about 20 minutes. After, I rinsed the tie dyed boxers and found it to be a lovely, dark color.

The pros of submerging: It is great for monochromatic projects (or those that only use one color. In fact, the sustained heat and exposure to dye really develops the fabric and ripens the color. If you want a more rich or dark color – this technique is for you.
The cons: It is not the best method for multicolored projects.
The Bottle Tie Dye Method

How to: You’ve used the bottle method if you’ve ever owned a tie dye kit. It involves pouring water into a bottle with the dye and squirting on the fabric. I make my mixture with liquid dye and heat on the stove. I allow to cool and then place in the bottle.
Scrunch pre treated fabric, or design as desired, with rubber bands. Place on a cookie rack in sink, cover as desired using the bottle. I usually cover so no white space is showing. Wait recommended 20 minutes for lighter color, or overnight for richer color. My design I did not leave overnight, so the color is less rich. There also is a slight bleed from rinsing. However, if you leave overnight, there will be a greater bleed ( or less white space).

Pros: You can use more than one color in your design!
Cons: The color is definitely not as rich as the dunking method.
Ice Tye Dye Technique

How to: Exactly as it sounds, this non-traditional dye method is created by melting ice over fabric. After treating the fabric with soda ash, scrunch fabric onto a wire rack. Place ice on top to cover – no fabric should be showing. Next, place powdered dye on top of the ice by sprinkling generously with a spoon. Finally, place a bin underneath your creation to catch the dye and ice as it melts. Leave overnight, rinse and enjoy results!


Tips for your first ice dye project
keep it monochrome. The bleeding of colors as the ice melts is beautiful, but can lead to aggressive mixing between colors. This can lead to undesirable results.
Be generous: I used ice dye sparingly on my first project and got okay results. I got light watercolor results that, while beautiful, looked more like a pen burst in his pocket than dyed boxers.
Use a primary color: if you are using a powdered dye, many times the color is created by mixing of multiple colors. You can see what ice dye looks like with green here. While beautiful, if you want the monochrome look, keeping it to red, yellow or blue might work best.


Leave a Reply