Your cart is currently empty!

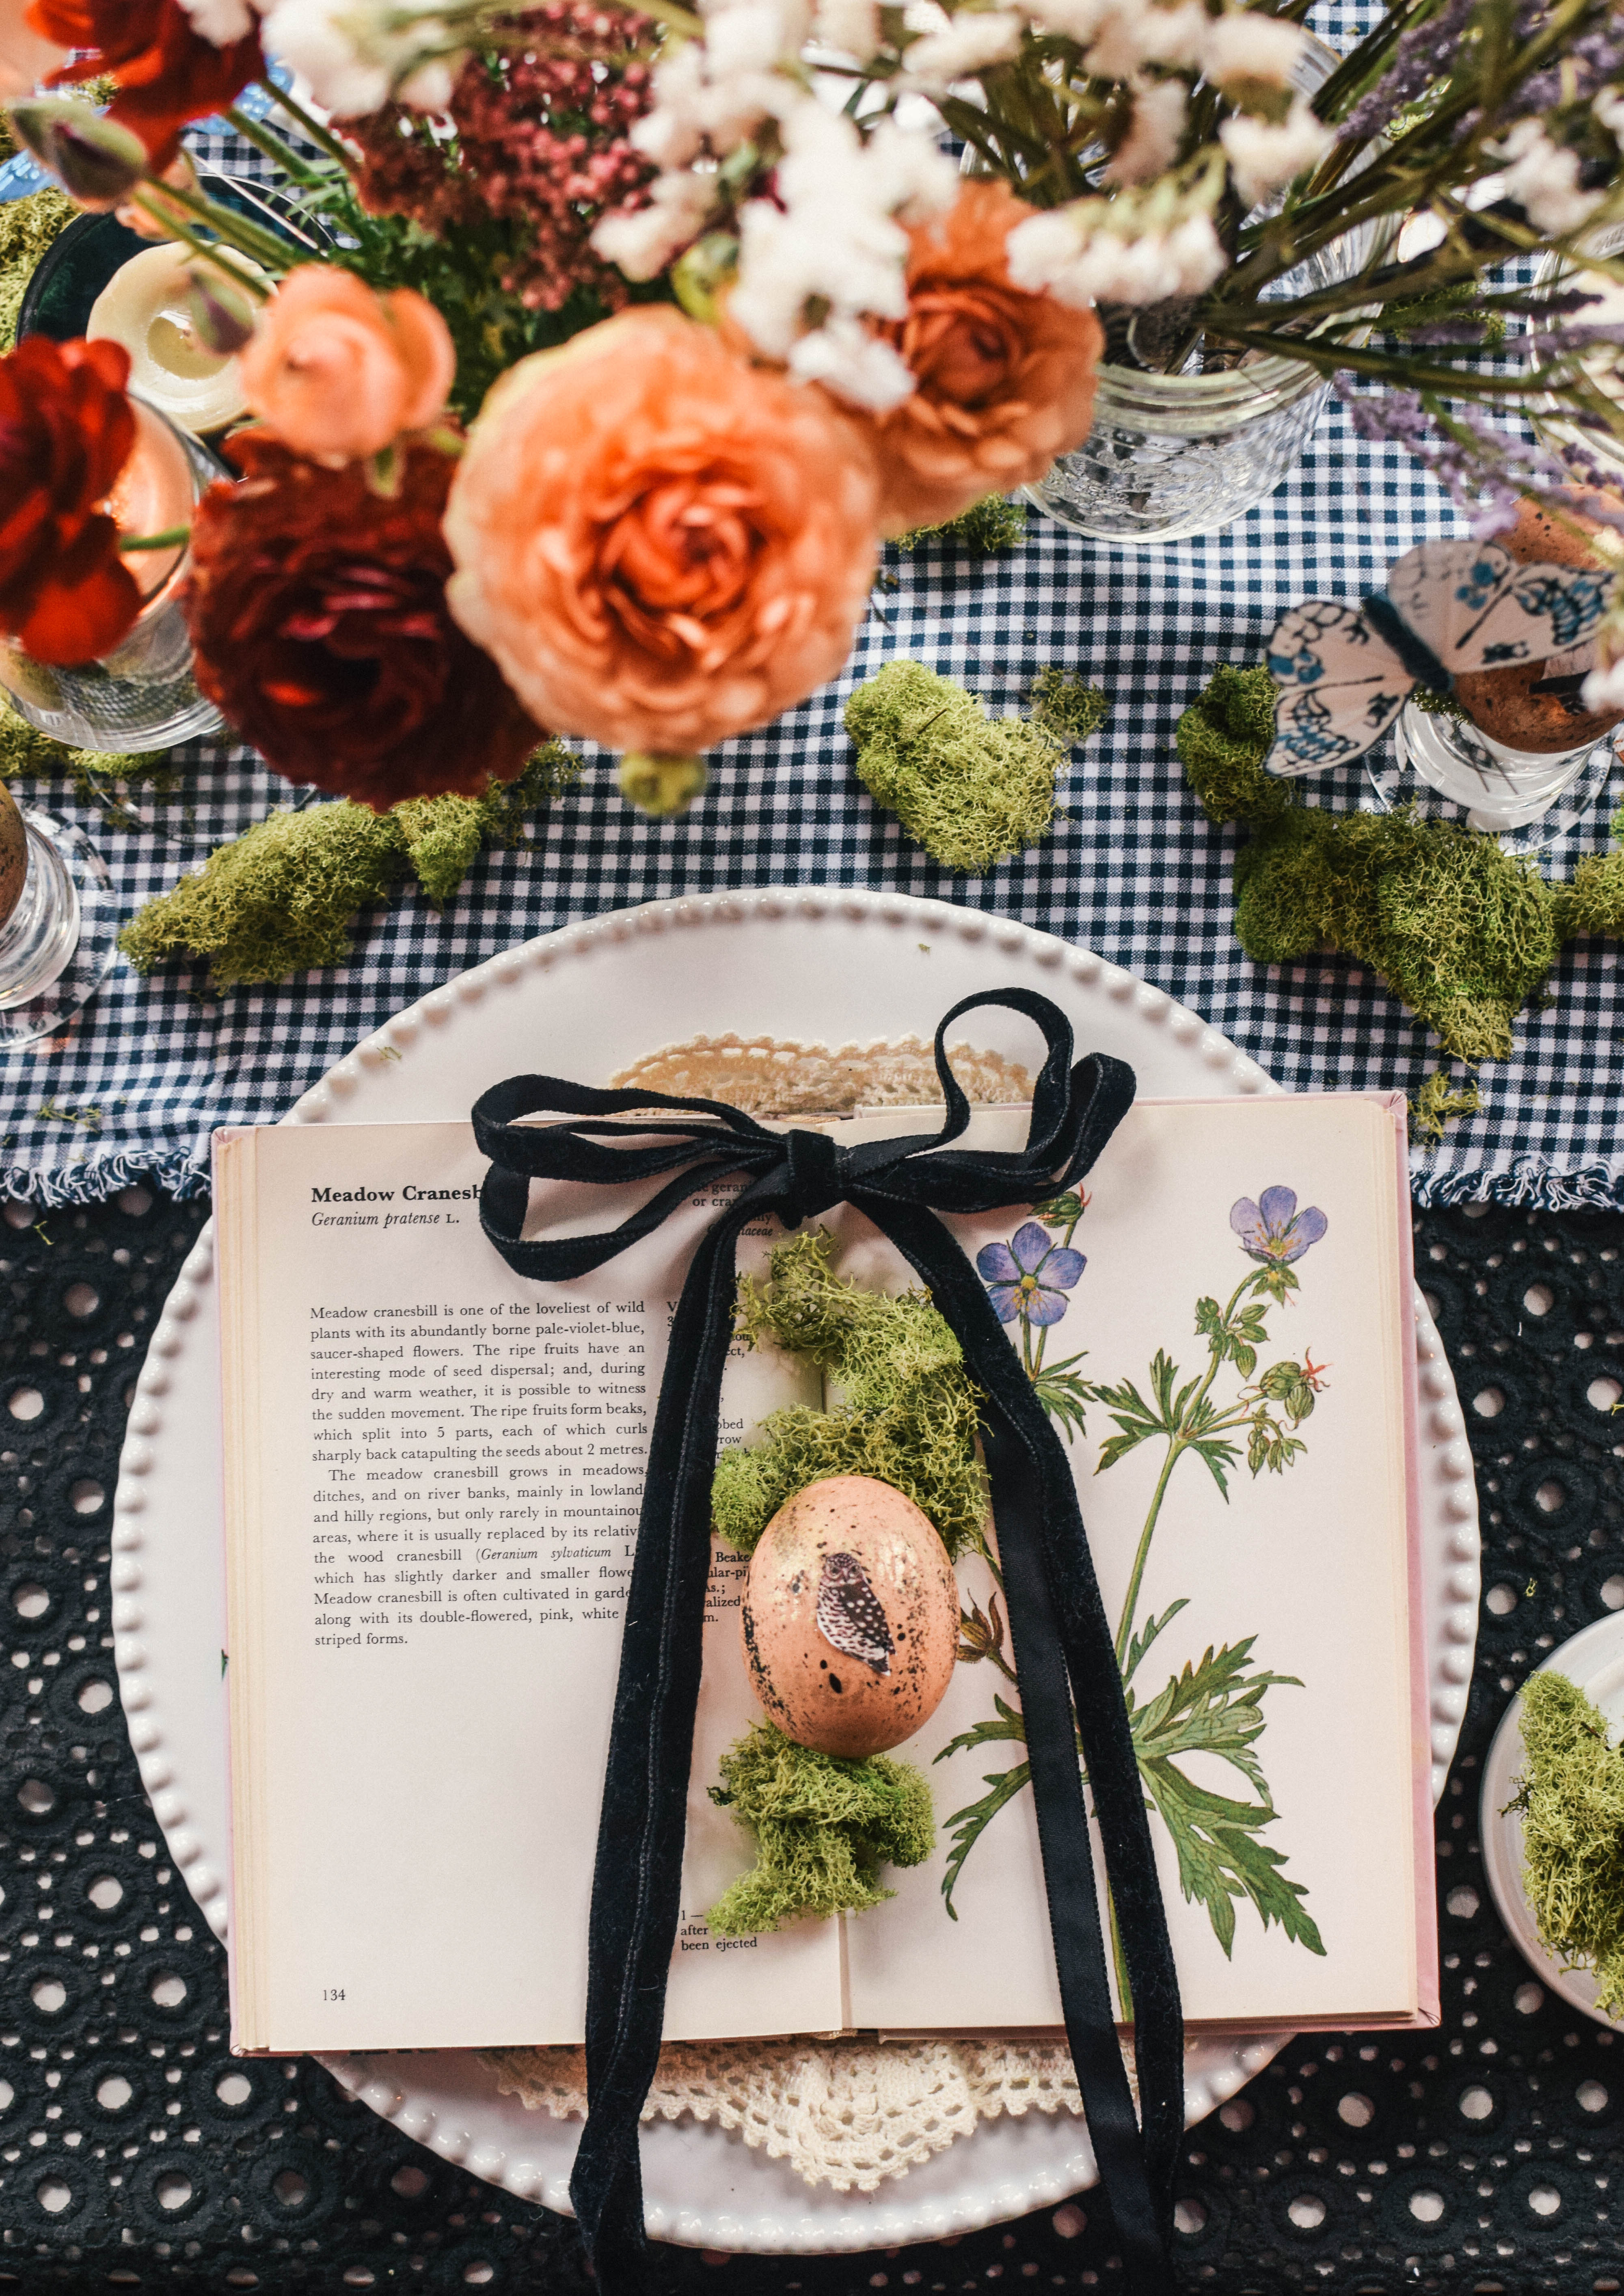
Spring in New England is that teenage girl that calls her crush, only to hang up when she hears the “hello?”. Here in chilly Boston, we find refuge in the cozy corners of home. So, I wanted to bring the Spring to New England in the hope that it would encourage winter to, well, get on its way. We also know that I am a sucker for all things botanical. The colorful, vintage pages have charmed their way into my heart, and now onto my table in this spring table scape.
I created a rustic, spring vibe by combining nature with my love for vintage. Below you see that I used my grandmother’s handkerchieves as napkins and some extra fabric as a table runner. It is so important to use what you have to create a vision. Luckily, this DIY only required me to buy some paint, glue and some of that moss you see here.

I wanted to create a spring table scape just in time for Easter. While my family is not very religious, we always love to take any opportunity to celebrate being together. So, using Easter as a motivator, I wanted to take the opportunity to introduce a new era of home into this DIY space. On my Instagram pole this year, you all voted YES! to more home DIYs. My boyfriend and I are in the process of finding a new apartment in Boston to fill will DIYs. Of course, that is my intention – find the apartment JUST to decorate it (hehe).


These amazing flowers were locally sourced from Boston Public Market & (stolen from my roommate – love you Aly! So, In return for her unknowing donation to the One CrafDIY Girl brand I’d love you to check out her site. She cooks AMAZING food and has all her recipes up on her own personal blog / here)
Materials
Martha Stewart WaterColor craft paint (gold and black) *nontoxic*
Textured surface (paper towels will do!)
Paint brush
Hard boiled eggs (brown or white)
Glue
Botanical print outs
Instructions
Hard boil your eggs. Usually, I find that 9 minutes in boiling water will give you a fine hard boiled egg. Unsure of your progress? Use the “spin” check. A hardboiled egg will spin like a top because it is now a solid. Cool trick right?
Choose your “botanical print” and print on plain computer paper. I used these cute little owls from my Pinterest Board here. Once printed, cut out your decals.
Next, take your gold paint. Cover a large area lightly, making sure you do not saturate the paper and loose the texture. Make sure you have something, like some scrap newspaper, underneath your painted paper towel to protect your working surface from excess paint.

Now that you have lightly covered the textured surface with paint, roll the egg along the paper towel. This will create a “stamped effect”, making your egg almost look striped. Repeat the light painting of the paper towel for each roll to make sure you get a good, fresh imprint on each egg.

To create the splattered effect of the egg, I used regular watercolor paint simply because it is what was in the cupboard. However, any type of non toxic paint works best.


With your paint brush wet with the black paint, “flick” the end of the brush. This will create a splatter effect on your eggs. You will want to wear gloves or use water based paint, as this step can get very messy. Also, ensure that your working surface is generously covered as the paint can go rouge.

As our eggs dry, its time to cut out our decals (if you haven’t already). Using non-toxic glue, adhere your decorative owls to the front of the egg.


The final step reveals a cute, decorative friend that is perfect for a rustic , botanical spring table setting!


Comments
2 responses to “Spring Table Setting & Easy Easter “Owl” Egg DIY”
gorgeous! I love your creativity, what a unique idea!
Thank you Lauren! It’s always so fun to create! Don’t you agree? Thanks for stopping by! Marissa

Leave a Reply