Your cart is currently empty!

This incredible hack for DIY removable fabric wallpaper is guaranteed to transform your space all while allowing you to keep the security deposit.
We all adore the bold prints, patterns and textures of a good wallpaper. However, typical removable wallpaper proves to our achilles-heel of design. As a renter, it is hard to justify the high cost of quality wallpaper on your wallet and the environment. It goes without saying that temporary wallpaper is just that – temporary. As many of the colorful prints and textures are non-recyclable, most wallpaper ends up in the landfill after removal. Did you know that is true of wrapping paper too? If you add the time needed to repair imperfections post removal, the cost is just too dang high. Or… is it?
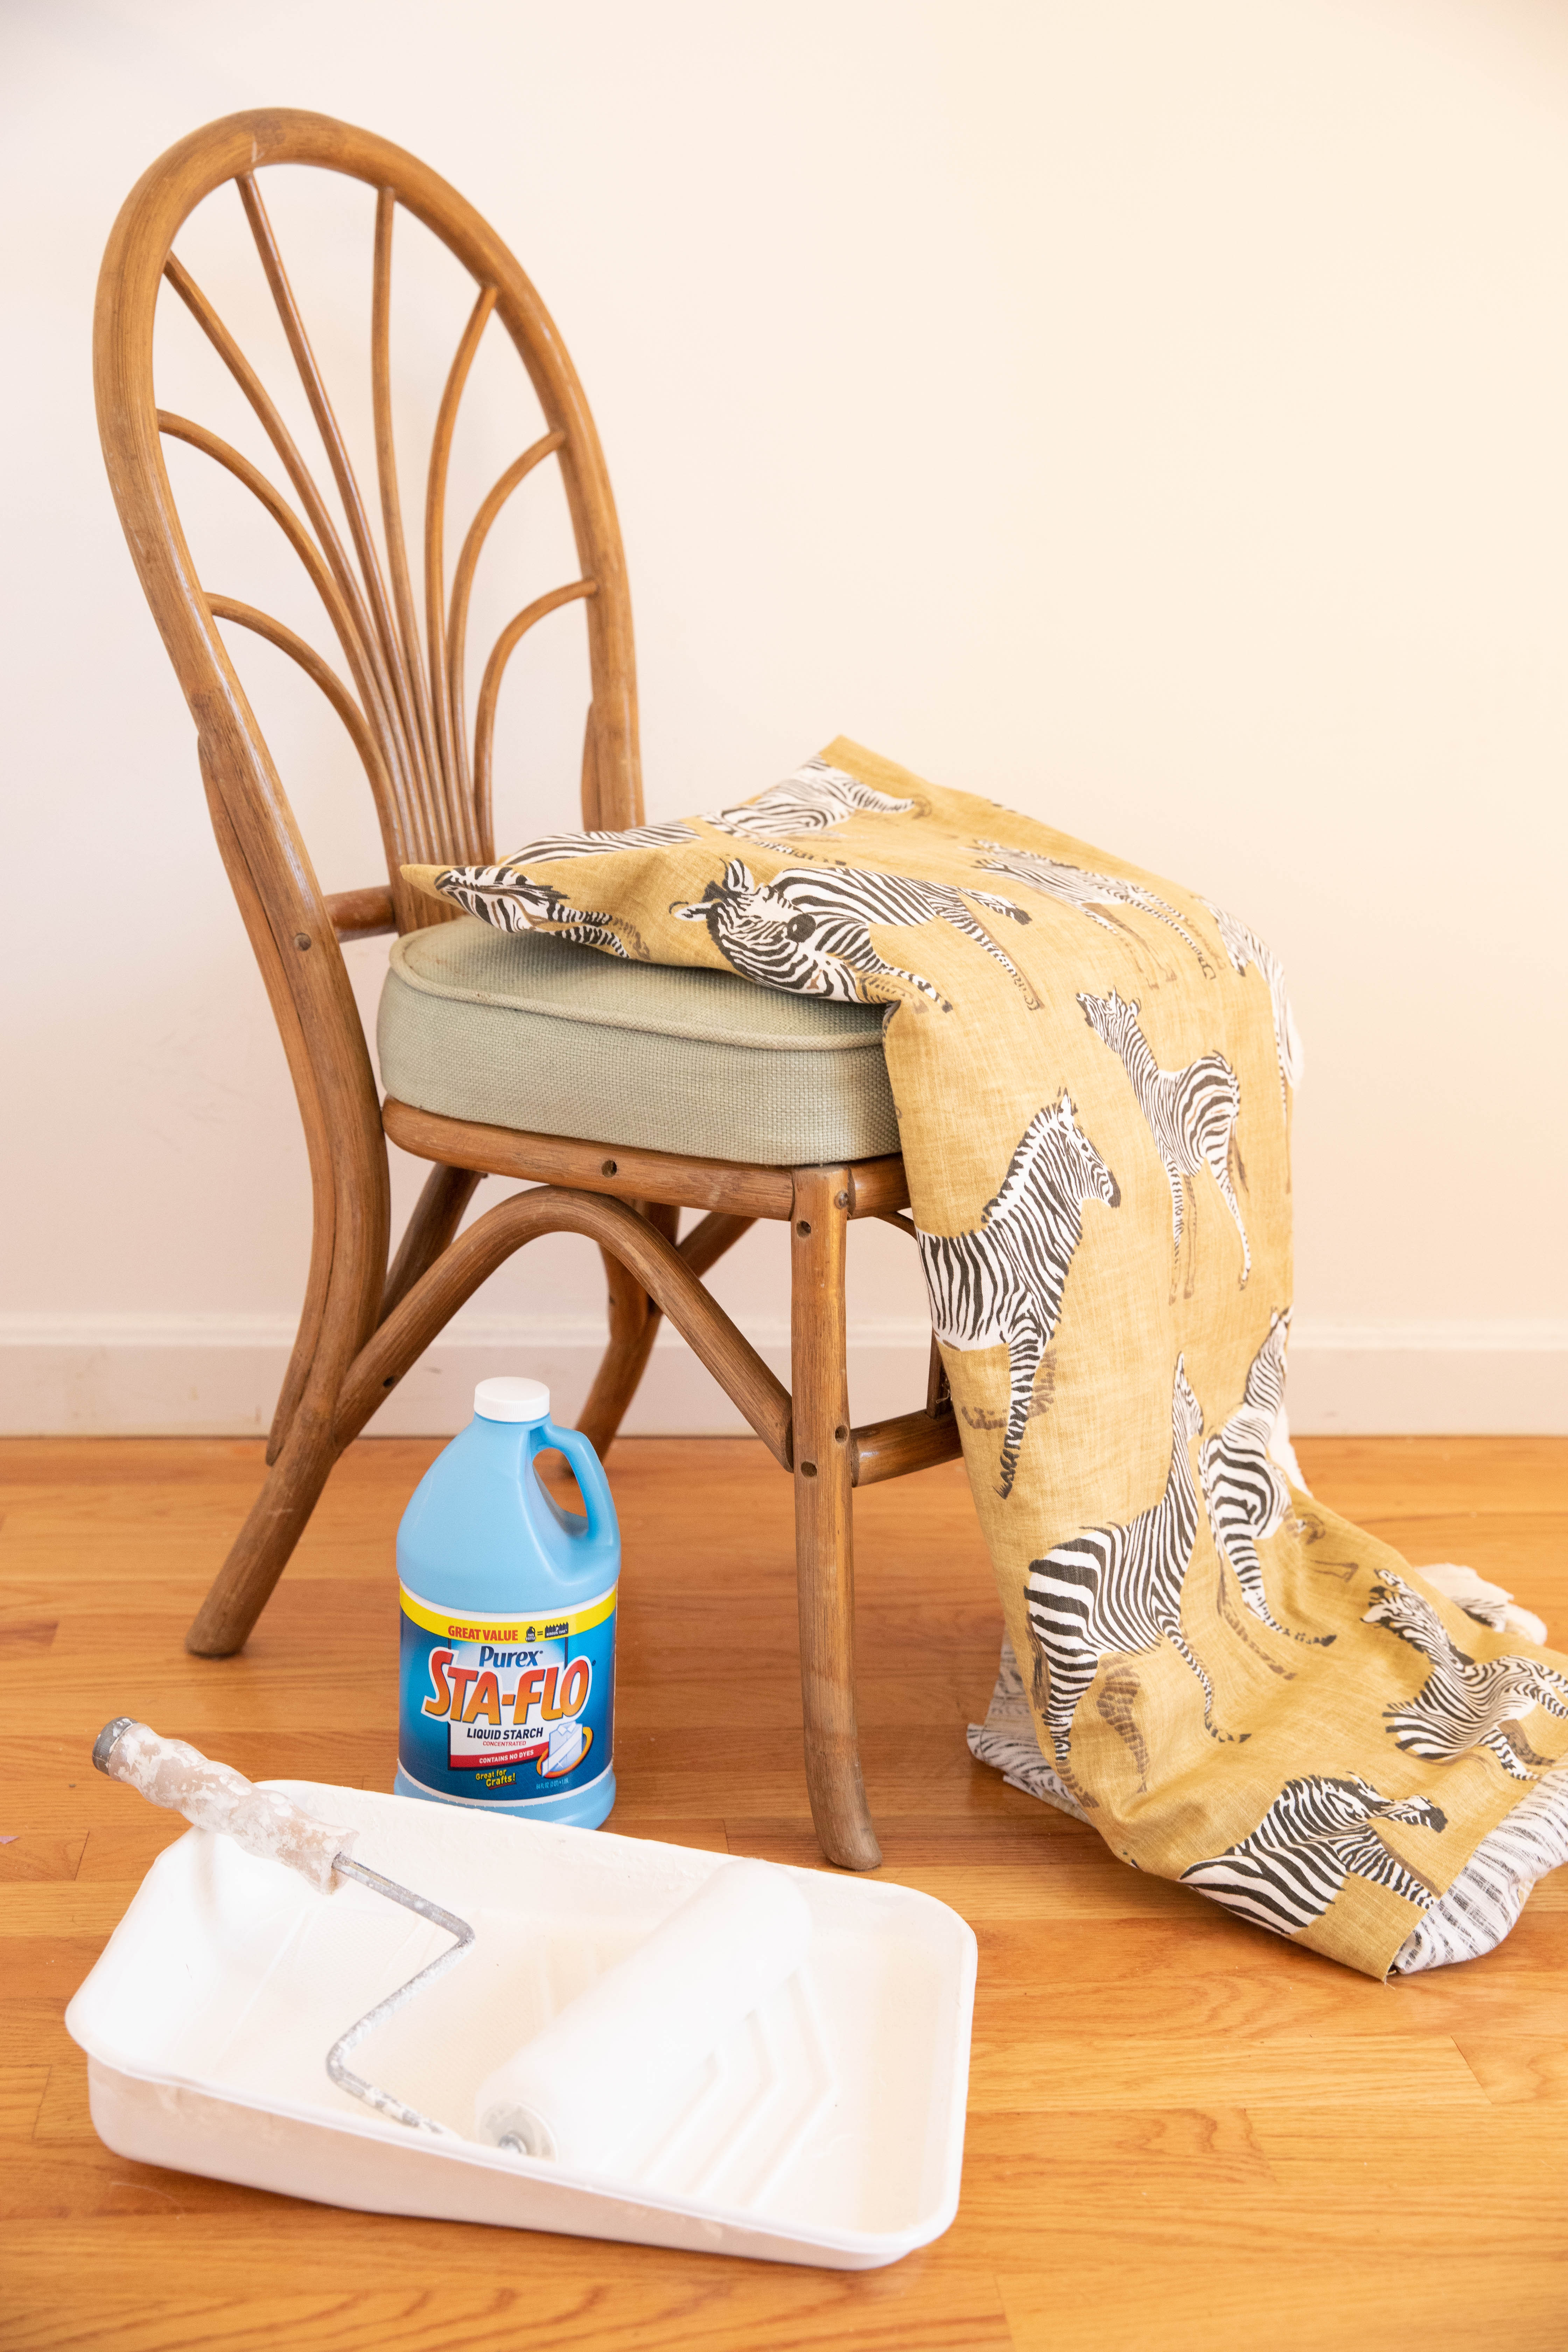
Luckily, this hack for inexpensive and (yes!) completely renter friendly removable fabric wallpaper is a saving grace for serial renters. Not only is it incredibly easy and cheap, it is reusable. This means with just a trip through the spin cycle the fabric is ready for its next project. It also removes just as easily, with just a rag and some hot water (more on that below)

Supplies:
- Fabric of your choice
- Fabric starch (linked here)
- A sponge or paint roller
- A rolling paint bucket
- Thumbtacks or nails
Directions for removable fabric wallpaper
- Determine how much fabric will be needed for your project. This involves 2 steps. The first is measuring how many panels you will need. Calculate this measurement by finding the width, or end to end measurement of the wall and dividing by the fabric width. The width of fabrics can vary, most are between 45″-65″.
- Determine the height of the wall, or how many yards you will need. Divide the height of the wall by 36″ (or 1 yard). Now that you know how many yards for height, multiple by the number of panels calculated in step 1. I advise getting 1-2 yards more than needed. This is especially true if you plan on pattern matching (i.e. making the design line up). In simpler terms (# panels x # yards) + 1 = yardage needed.
- Prepare your wall, by cleaning with a damp towel to remove any dirt, dust or grime.
- Use the thumbtacks to secure the fabric to the top of the wall. Make sure the is 1-2 inches overhang on the edge (this will be removed later).
- Pour liquid starch into the paint roller pan. Working quickly, using the paint roller, paint brush or sponge, apply starch to the top half the wall.
- Smooth the fabric, working from the middle and pushing out to the sides to remove any wrinkling. Allow the extra 1-2 inches to overhang from the ceiling and edge – this allows for pattern adjustments.
- Using the paint roller, roll over the fabric until it is saturated. This may take a little while if your fabric is absorbent. If using a lightweight fabric, a spray bottle works well.
- Smooth fabric from the top down & from the middle to the edges. I used my Cricut tool for this step but a wallpaper scraper works well too.
- Position the next panel, pattern matching the design. Repeat previous steps.
- Once the fabric is completely dry and stiff, trim off any excess using an Exacto knife
love fun DIYs for the home? me too – check out all my projects here
How to remove fabric wallpaper
To remove the wallpaper, gently simply peel one corner loose and pull away from the wall. Dampen any stubborn areas with a spray bottle or wet sponge. When you are finished, remove residue with a clean sponge or wet cloth. This should remove any residual lint. or starch that is attached to the wall. The fabric wallpaper can then be placed in the wash – the starch will lift and you will be left with clean fabric ready for it’s next project.

Common Questions
Is there color bleed?
While unlikely, if you are concerned about the color of the fabric bleeding into the wall over time, prewash your fabric. Remember that if you pre-wash, iron your fabric so it is easier to apply.
Does it work on all fabrics?
I have tried this on lace, velvet, linen and cotton. Cotton blends definitely work best as they absorb the liquid starch better than. synthetic fiber.
What about washing your walls?
I recommend lightly dusting your walls. Like most temporary wallpapers, spraying with water can make the hold unstable.
What about humidity?
Normal environmental humidity is totally fine. However, places you notice regular condensation on your walls (i.e. a steamy shower) might not be best for any wallpaper, as well as this project.
How much liquid starch will i need?
I covered a 8 ft x 15 ft wall with 1.5 bottles of starch. My fabric was a linen blend and required more starch than a thinner fabric.

Leave a Reply