Your cart is currently empty!

There is nothing like finding a beautiful fabric. However, as a seamstress and designer often times finding the fabric to meet the vision for your next project can prove to be very difficult. Often times, I will go to the fabric store to something very specific and have a lot of trouble finding what I want. For this project, I knew that I wanted a chiffon floral pattern and while I had amazing fabrics nothing seemed to fit my ‘vision’.
Luckily, I found Spoonflower, an online custom fabric store that allows artists to upload their patterns and prints them to custom fabrics. The site is filled with quirky prints and my virtual shopping cart is very, very full. When I found out one of my favorite Instagram artists uploaded her designs to Spoonflower, it was no contest. Riley has gorgeous watercolor prints that depict a charming lifestyle. I am always entranced by her tiny little squares on Instagram. She takes a lot of inspiration from Instagram as well, drawing bloggers like Carly and Kelly. So, it is my not so secret summer goal to take a photo that will inspire one of her prints. Luckily, Spoonflower saw my enthusiasm for Riley’s prints and reached out to collaborate.

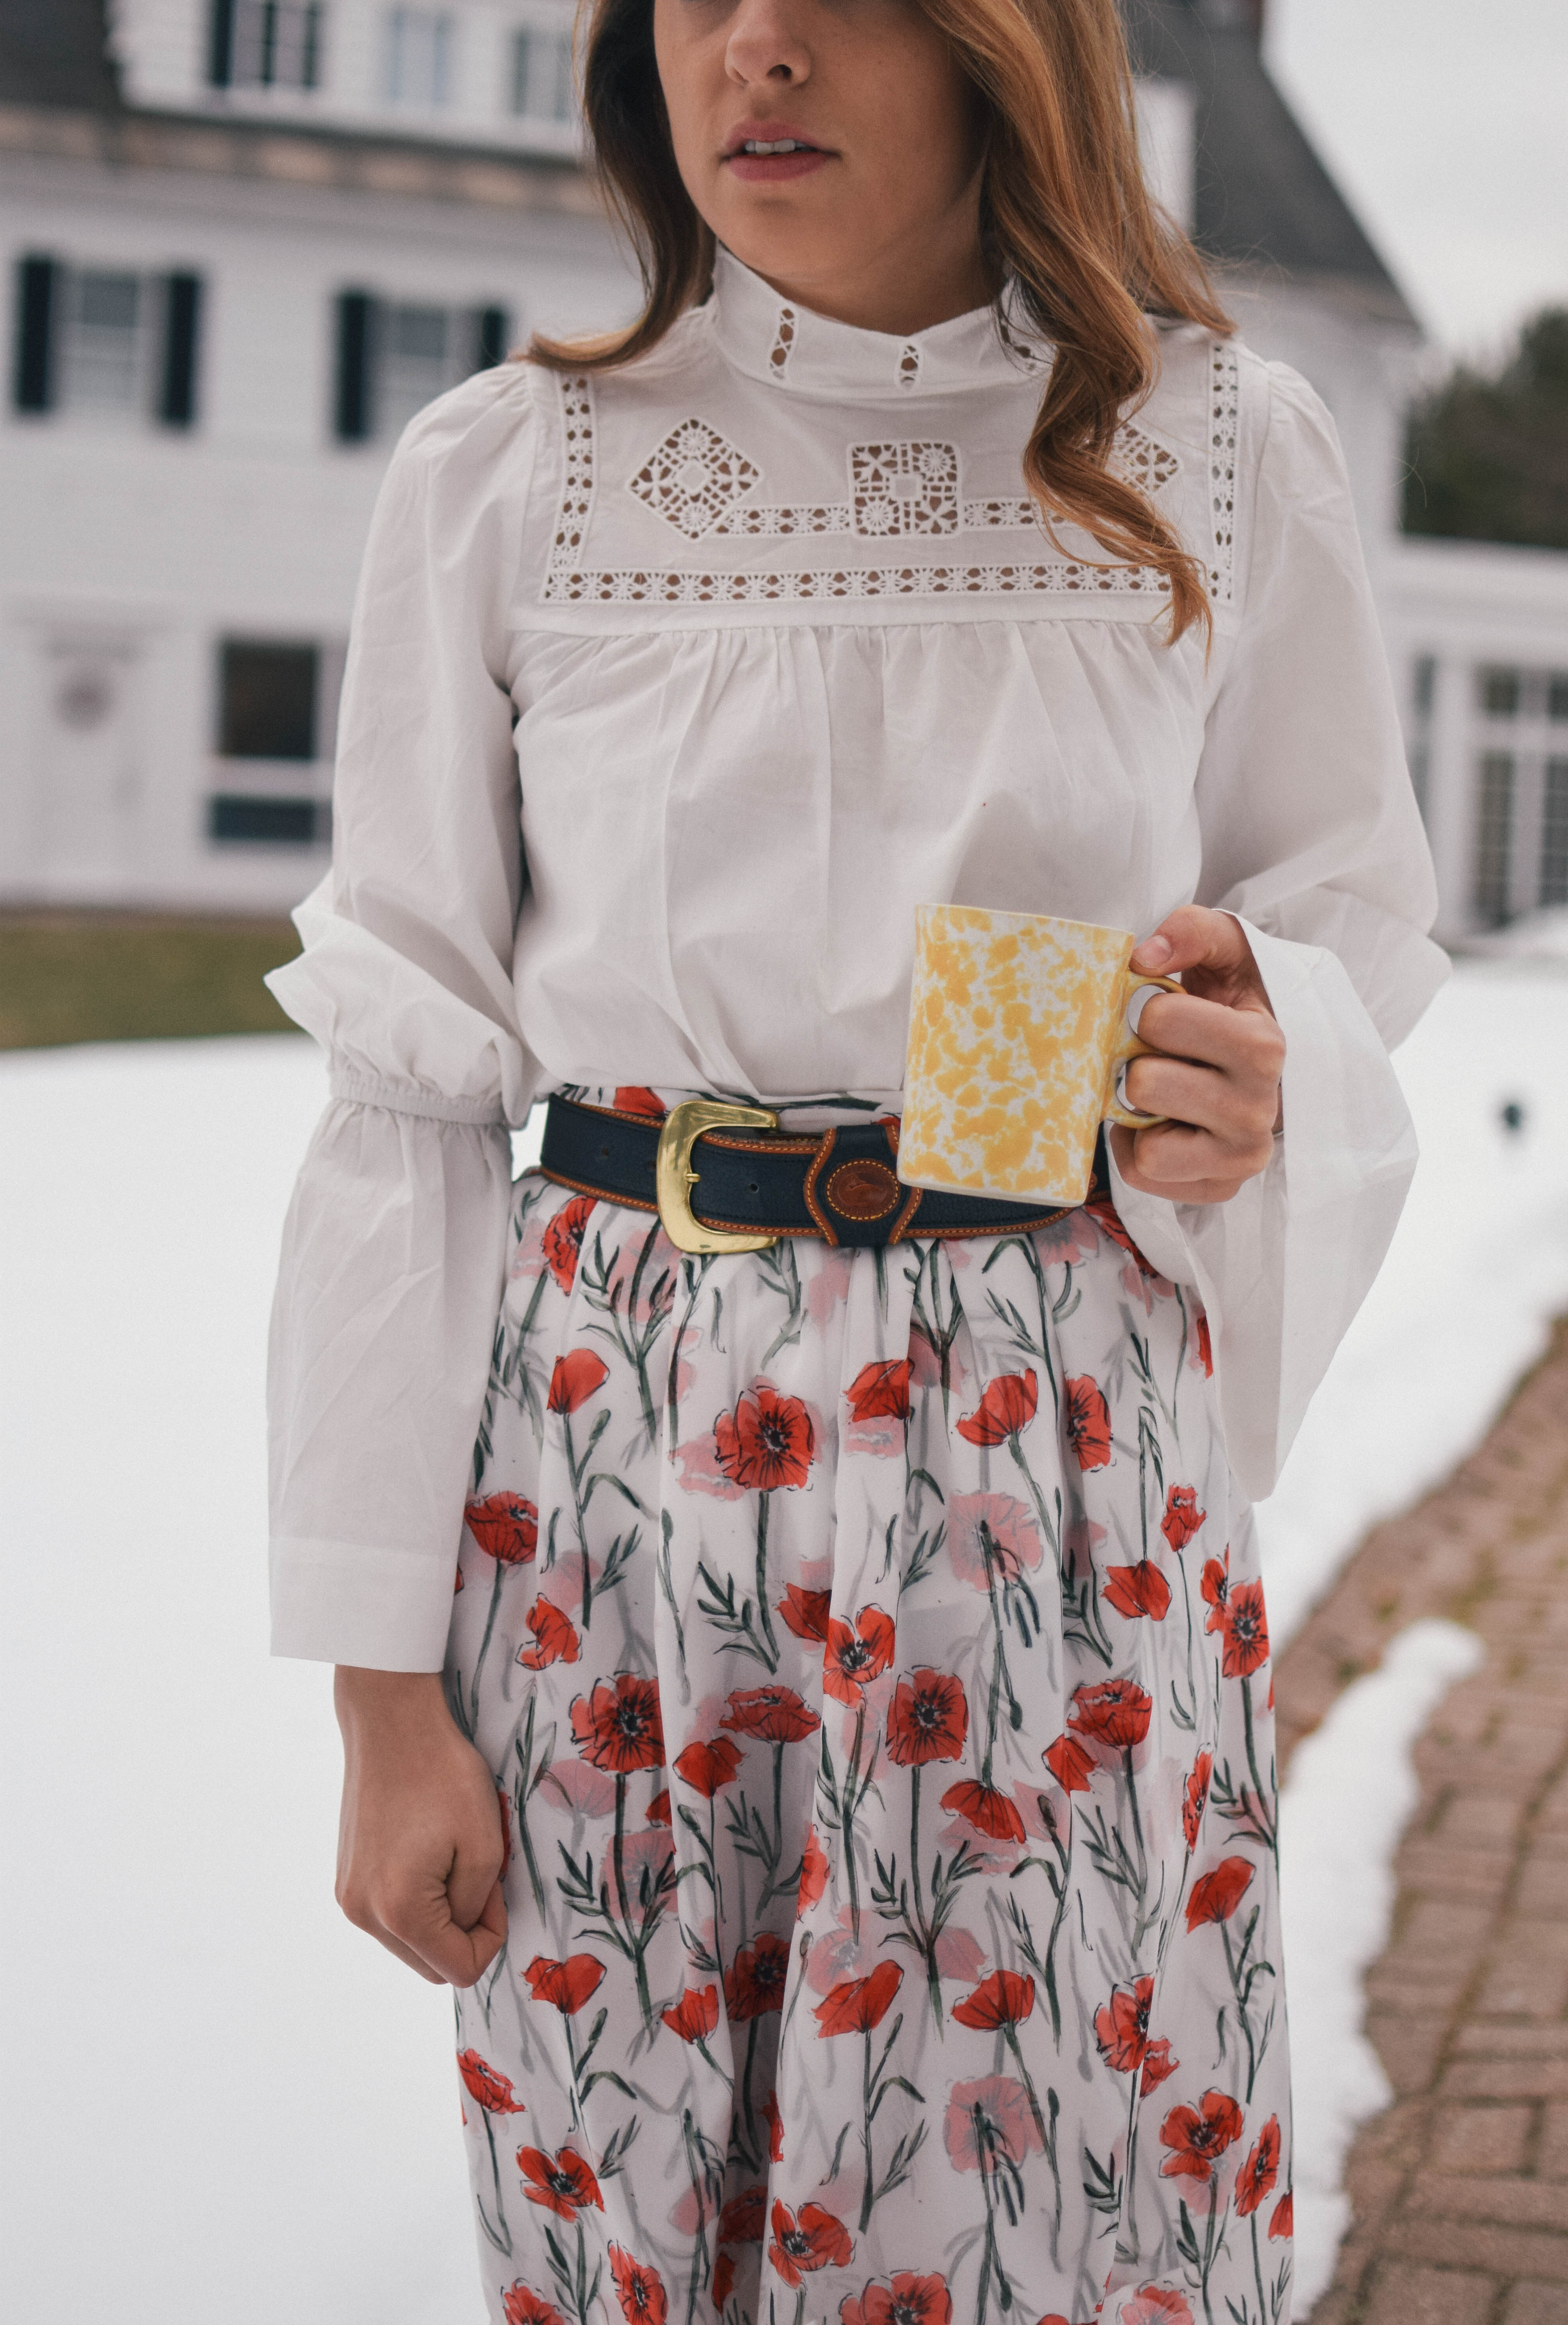
Riley is known for her cute watercolor prints. Many of them depict a preppy, classic life. So, I was instantly drawn to the charm of her prints. I ended up using her poppy print. It was a bright color and the detail was perfect for a feminine spring project.

For my project I used 2 yards of fabric. I used 1 yard chiffon and 1 yard poly crepe de chine for the lining. I chose a printed lining because I wanted to create a 3 dimensional look for the finished skirt. Spoonflower has SO many types of fabric to choose from, so this was such a difficult choice!
Chiffon Poppy Skirt Sewing Tutorial

Materials
1 yard Spoonflower poly crepe de chine
1 yard chiffon
Matching thread
9″ zipper
Instructions for Chiffon Poppy Skirt

Measure your waist measurement. For reference, mine is 24 inches. Using this waist measurement, cut your fabric as printed in this diagram
First, construct your waistband. Take strip A, fold in half horizontally right sides together. Press gently, pin and sew with ~1/2 inch seam allowance. Flip right side out.
Pin piece B & C to the waist band. Two techniques you can do to create this ruffled effect are: a basting stitch or just pin as your go. I’ve found that both methods work well. Once pinned, sew to attach to the waist band.
Now, your fabric should be one continuous piece. Find your zipper and pin to the edge of the fabric to connect. Sew in the zipper. This works best if you have a zipper foot on your sewing machine. Usually, your sewing machine comes with one!
Finally, flip your garment inside out. Pin from right above the end of the zipper to the bottom edge of the skirt.
To finish the skirt, individually hem the layers of the skirt.


Behind me is the lovely Four Chimneys Inn, charmingly located in Bennington, VT. Still curious? Read my complete guide to Maple Sugar Weekend in Bennington here.


Leave a Reply