Your cart is currently empty!

Plaid Ruffle Skirt Tutorial

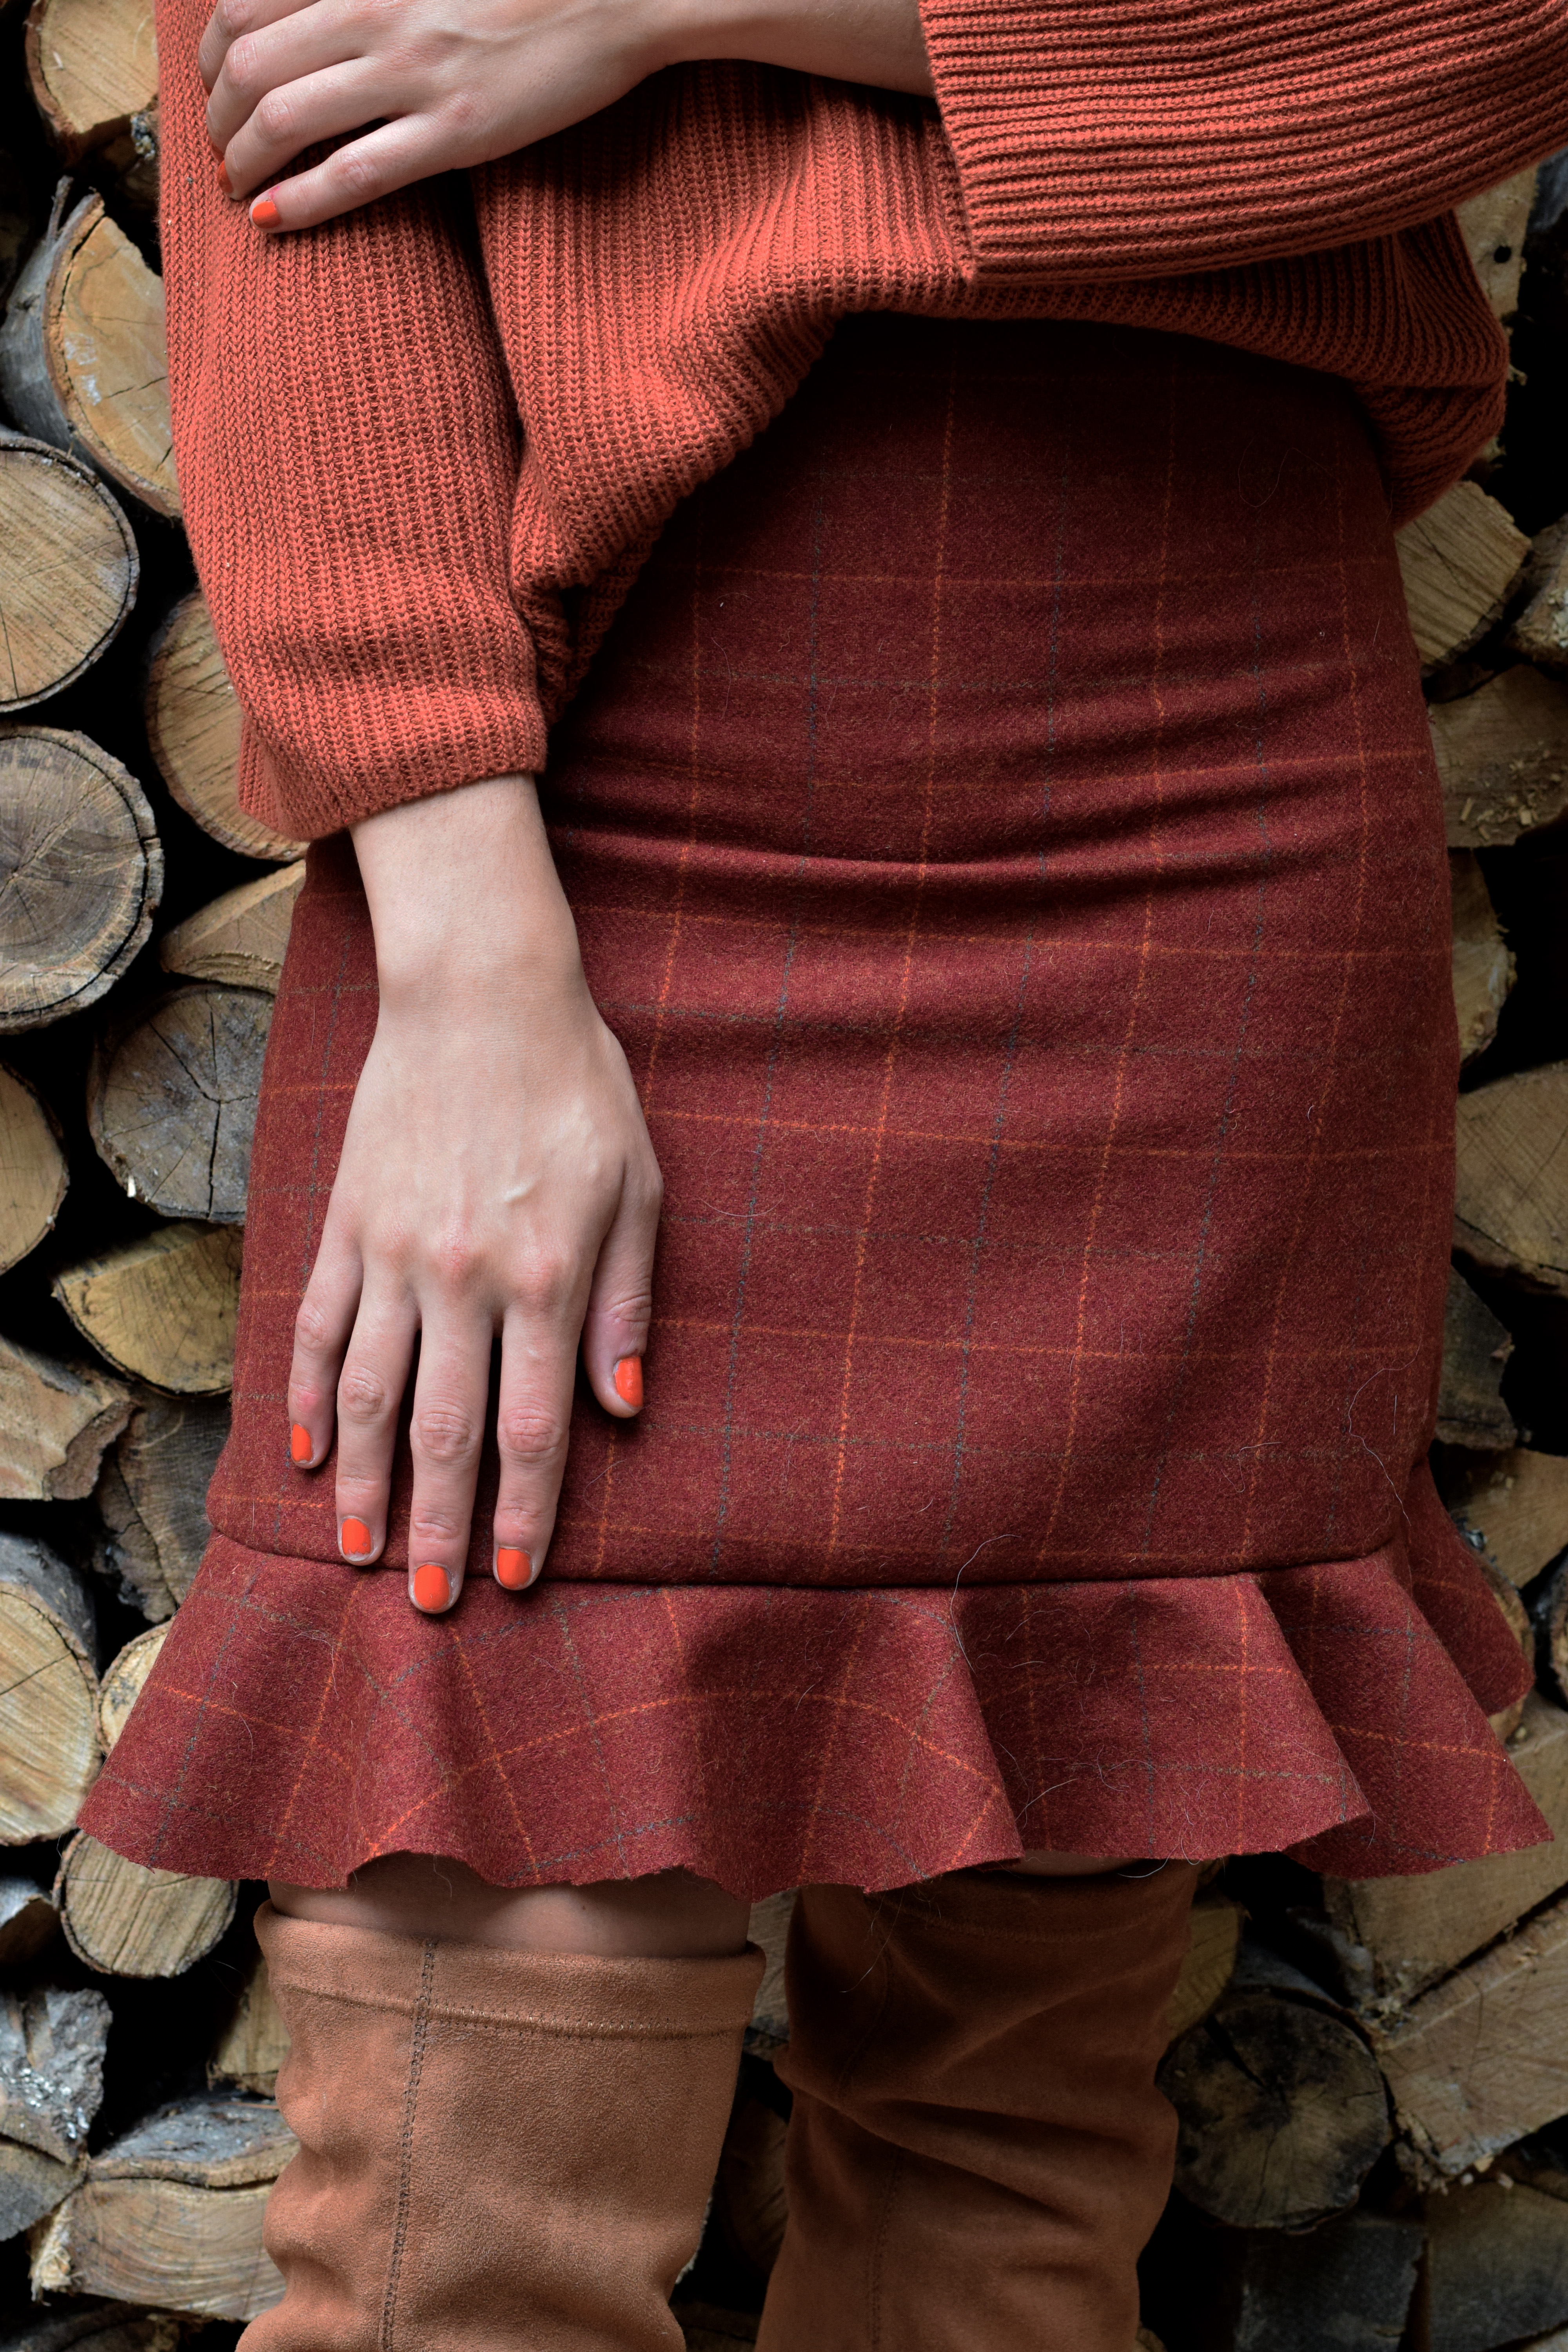
As the holidays approach, I’ve been working on bringing a regularly scheduled DIY to you each week. This week, we made a plaid ruffled skirt that is perfect for carving a turkey in. It has a cute frill and a subtle plaid. I love classic style with a feminine twist and this DIY brings you just that. Pairs perfectly with a wood burning fire, a glass of white wine (sipped slowly), and of course a posh sweater in an autumnal hue.

I’ve been working to bring you a mix of DIYs, both sewing and non, to make this a friendly spot for all skill sets. While working a full time job it’s been a struggle to focus on my passion. This has lead to a lack of inspiration, which no matter your career or hobby, I think everyone can understand. Luckily, I have many friends in the blogging community who assure me that I’m not alone. Blogging is a great hobby & it leads to a lot of personal growth. Keeping the inspiration & positivity present in everyday life is essential to happiness, which is why I want to make sure that my blog is a friendly & nurturing space for everyone’s creativity. I’d love to hear what you’d like to see more of, and maybe what you don’t, – no hurt feelings here.

Materials
1-1 1/2 yards of plaid fabric
Matching thread
4 inch zipper
Sewing machine with zipper foot
Instructions
Using that image above, cut you the pieces of the skirt. For the top of the skirt, I measured my waist & divided by two. Then I added in seam allowance (~1/2 inch). So, (waist/2) +1/2 inch. The widest part of your skirt will be your hip measurement, do the same for this
Next, I sewed in V-shaped darts in the front of the skirt. I took the difference of my (hips -waist)/ 2 for my front darts. The length (for ease) was the length of the zipper
With the long strip that you will use for our waist piece, fold in half and press. Sew into a tube, flip and press
Sew up the sides of the skirt to connect. Pin waist belt to top of skirt and sew around
Pin zipper. Using zipper foot, sew up the sides of the skirt
Connect and sew the spiral piece to the bottom of the skirt. I didn’t even have to hem mine, as I used a wool that is not prone to fraying.


not crafDIY like me? get the same look here:

Comments
2 responses to “Plaid Ruffle Skirt Tutorial”
I feel like I really really doing this diy but I know that it would not look as perfect as yours… I’m not particularly good at crafts 🙁 But I really like DIY projects ( I just suck at them)
Again, your skirt looks amazing! And super on trend with that choice of fabric! Great work, girl! 😉hi!
I started that way too. it was a big obstacle for me! However, there are a lot of things I still end up throwing away because they don’t look perfect! I’m doing a simple and easy DIY project this week on my instgram @onecrafdiygirl. We are making an elbow patch sweater! tune in! at 8pm Tuesday 🙂
marissa


Leave a Reply