Your cart is currently empty!

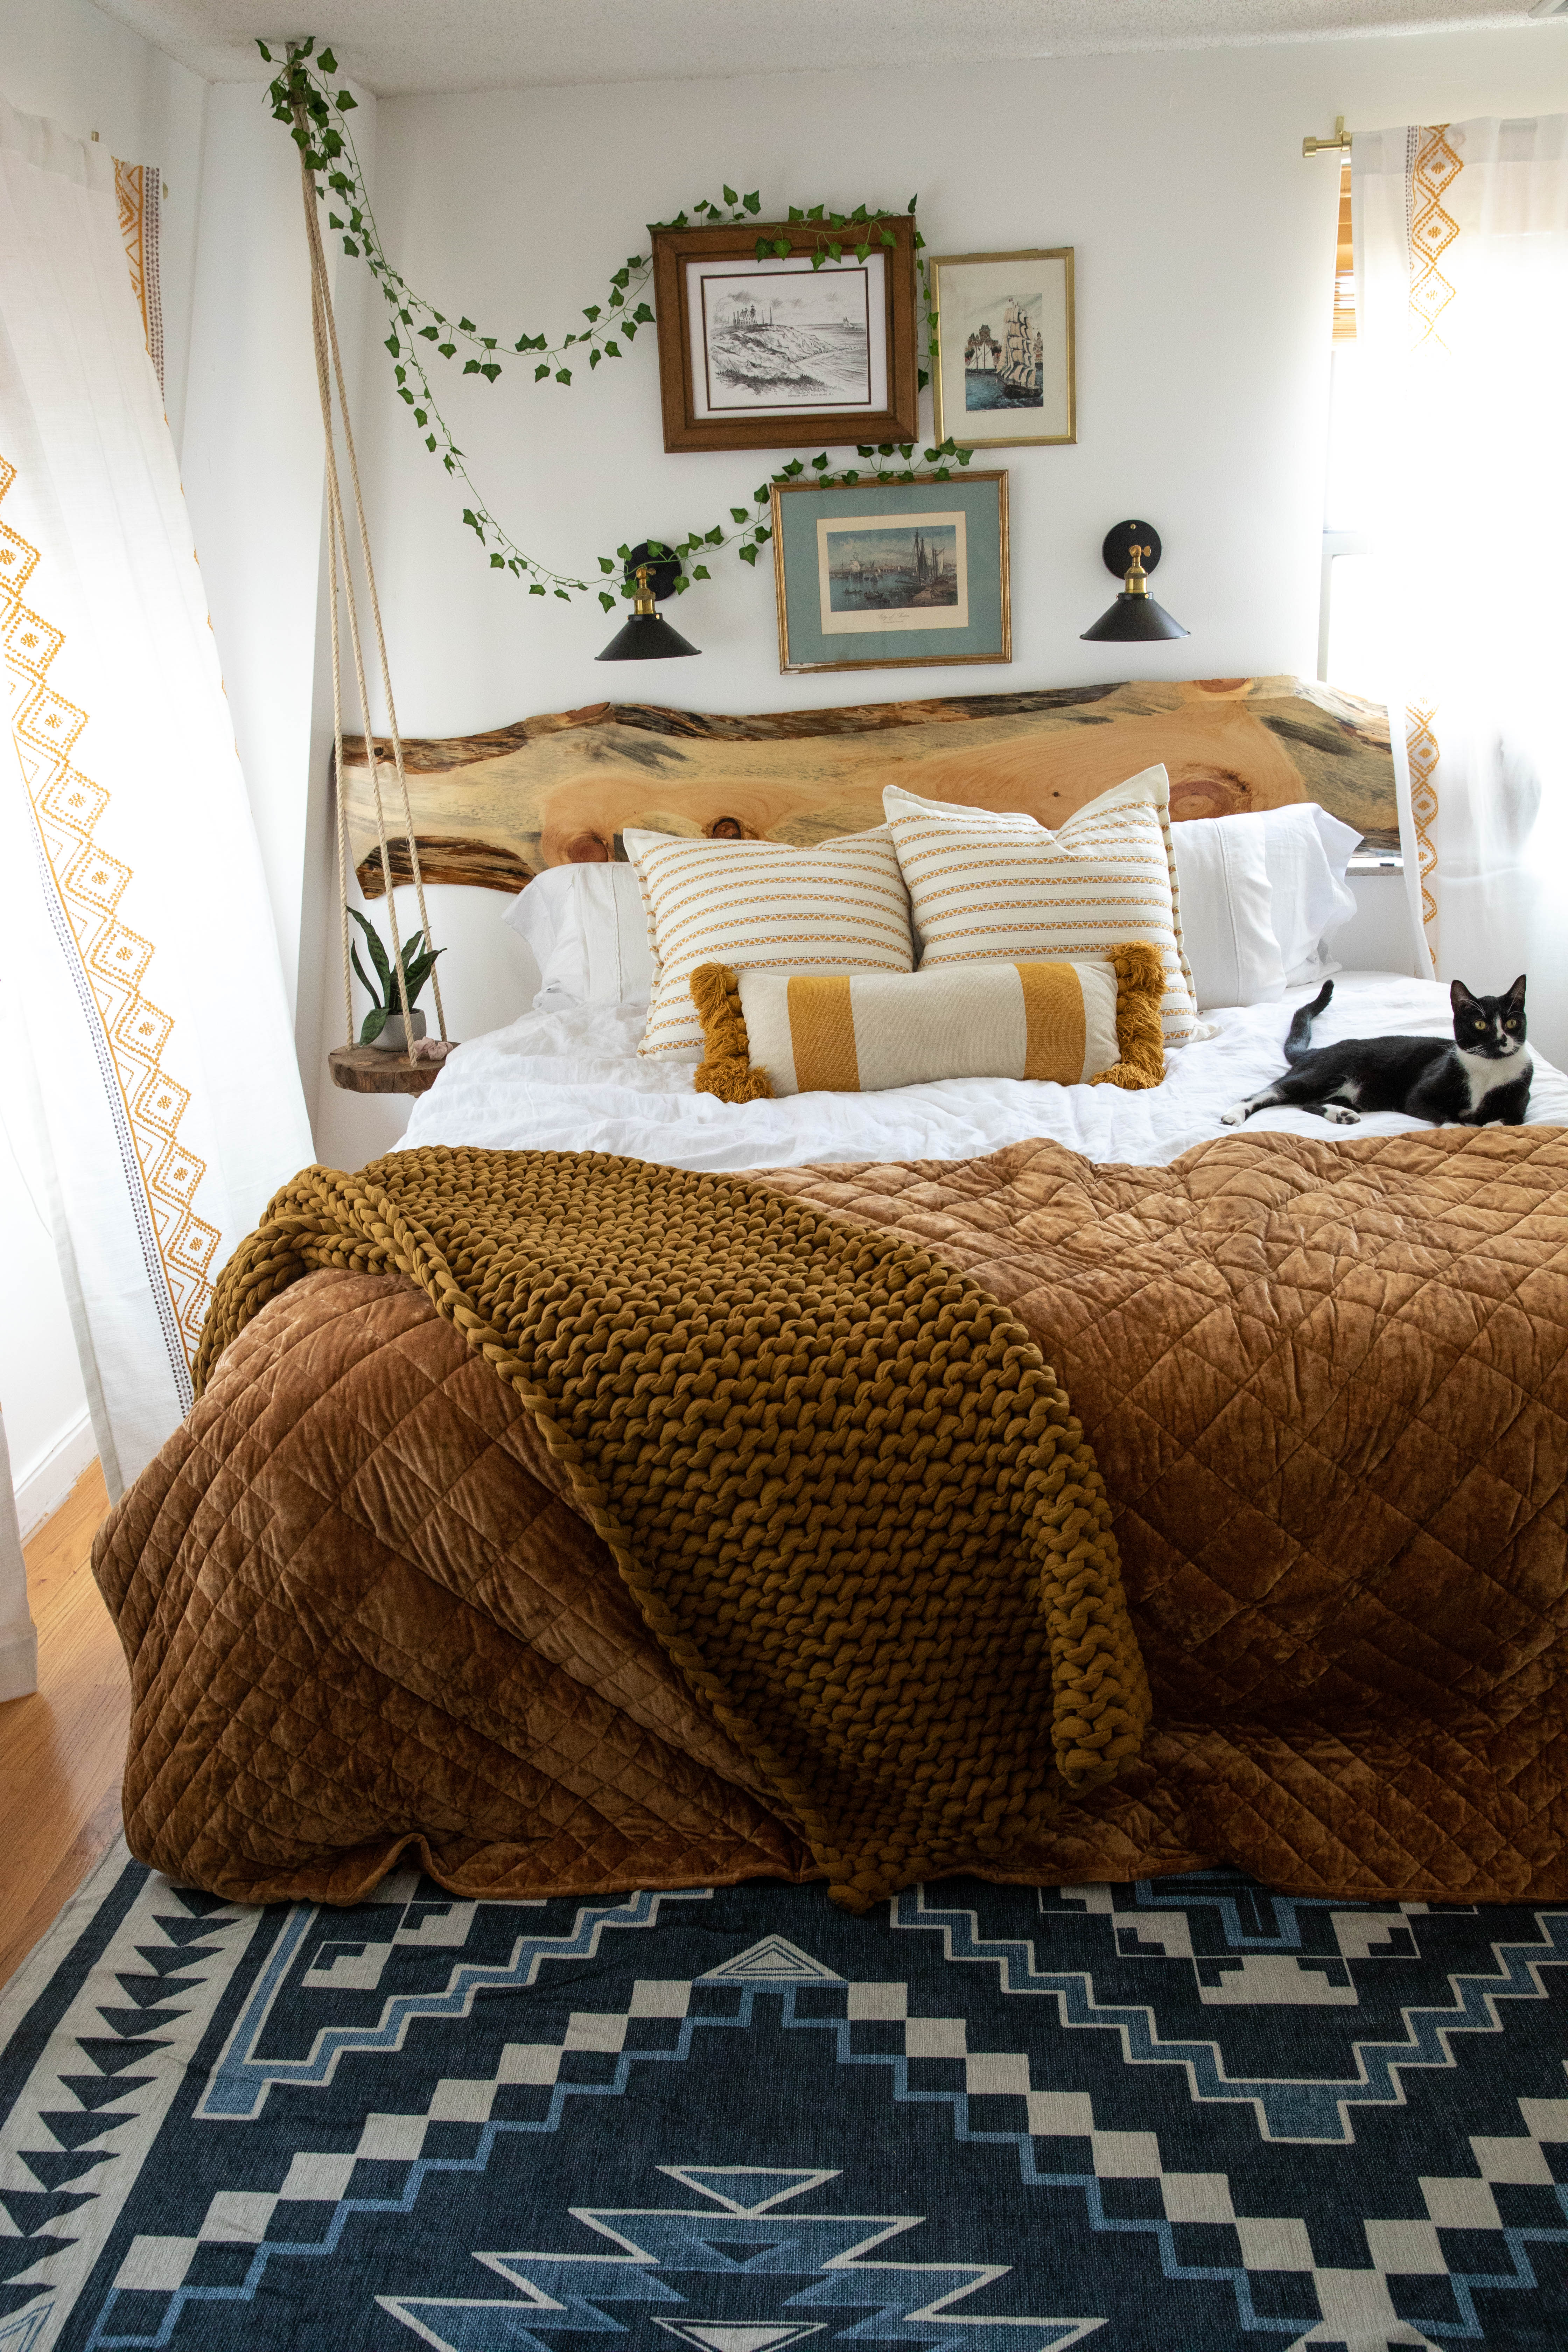
Hypnotized by the living edge headboard, I saw on Pinterest, I knew I needed to create my own. I love the rich texture of the wood, the history and how it made our urban apartment feel like a personal oasis. Being from New Hampshire, I was raised in the woods – lumber is in my DNA.
It felt impersonal (for me) to not create a DIY living headboard without wood from my hometown. However, if living edge is your style and your neighbor isn’t a lumberjack – here is a list of amazing living edge pieces to put in your home.
Where to source your wood
I sourced mine from a local lumber yard. I recommend the same for you. The lumber we used was pine, which is typically more common and less expensive. The total cost for this wood slab was $25. If you are interested in a harder wood, I would recommend sourcing from a living edge wood supplier or specialist (a quick google search will reveal this information).
How to make the living edge headboard
Once the living edge was home, we let the wood sit for about a month. If yours was sourced from a dry environment or was kiln dried, skip this step. However, with any lumber you are trying to seal, this set is essential.
I did this down in my basement, so did I take high quality photography like I should have? Of course not. Instead, I took some video, which I’m sharing here.
Step one: Remove the bark from the edges and sand using a power sander until the wood is smooth, even, and the texture is like butter. Using power tools is, of course, optional. However, it makes the whole process more enjoyable. Sand the top, or the side that will be facing outwards, leaving the edges. Then, with care, smooth the edges with a power sander if wide enough, or by hand.
Step two: Brush all wood particles off of the board, taking a damp cloth to further remove any debris. Since this piece of wood had grooves, we even used a shop vac to remove any sawdust.
Step three: Use a polycyclic stain to seal. Minwax is my favorite, I usually use foam brushes to apply rather than a paintbrush. It dries crystal clear, so using (and then tossing) the foam brushes will save you grief. Allow to completely dry between coats and sand if needed. This will ensure your wood will look like glass once hung. Repeat 4-5 times for a high shine.
Step four: Attach a french cleat per package instructions using a level to the back of the headboard. Ours is not attached to the bed, rather to the wall.
Step five: make your bed and feel like you are resting under the trees. I love these products for the most comfortable bed, ever.
Questions about this project? Follow me here, I’m happy to answer all your questions.


Leave a Reply