Your cart is currently empty!

Granny Square Scarf DIY

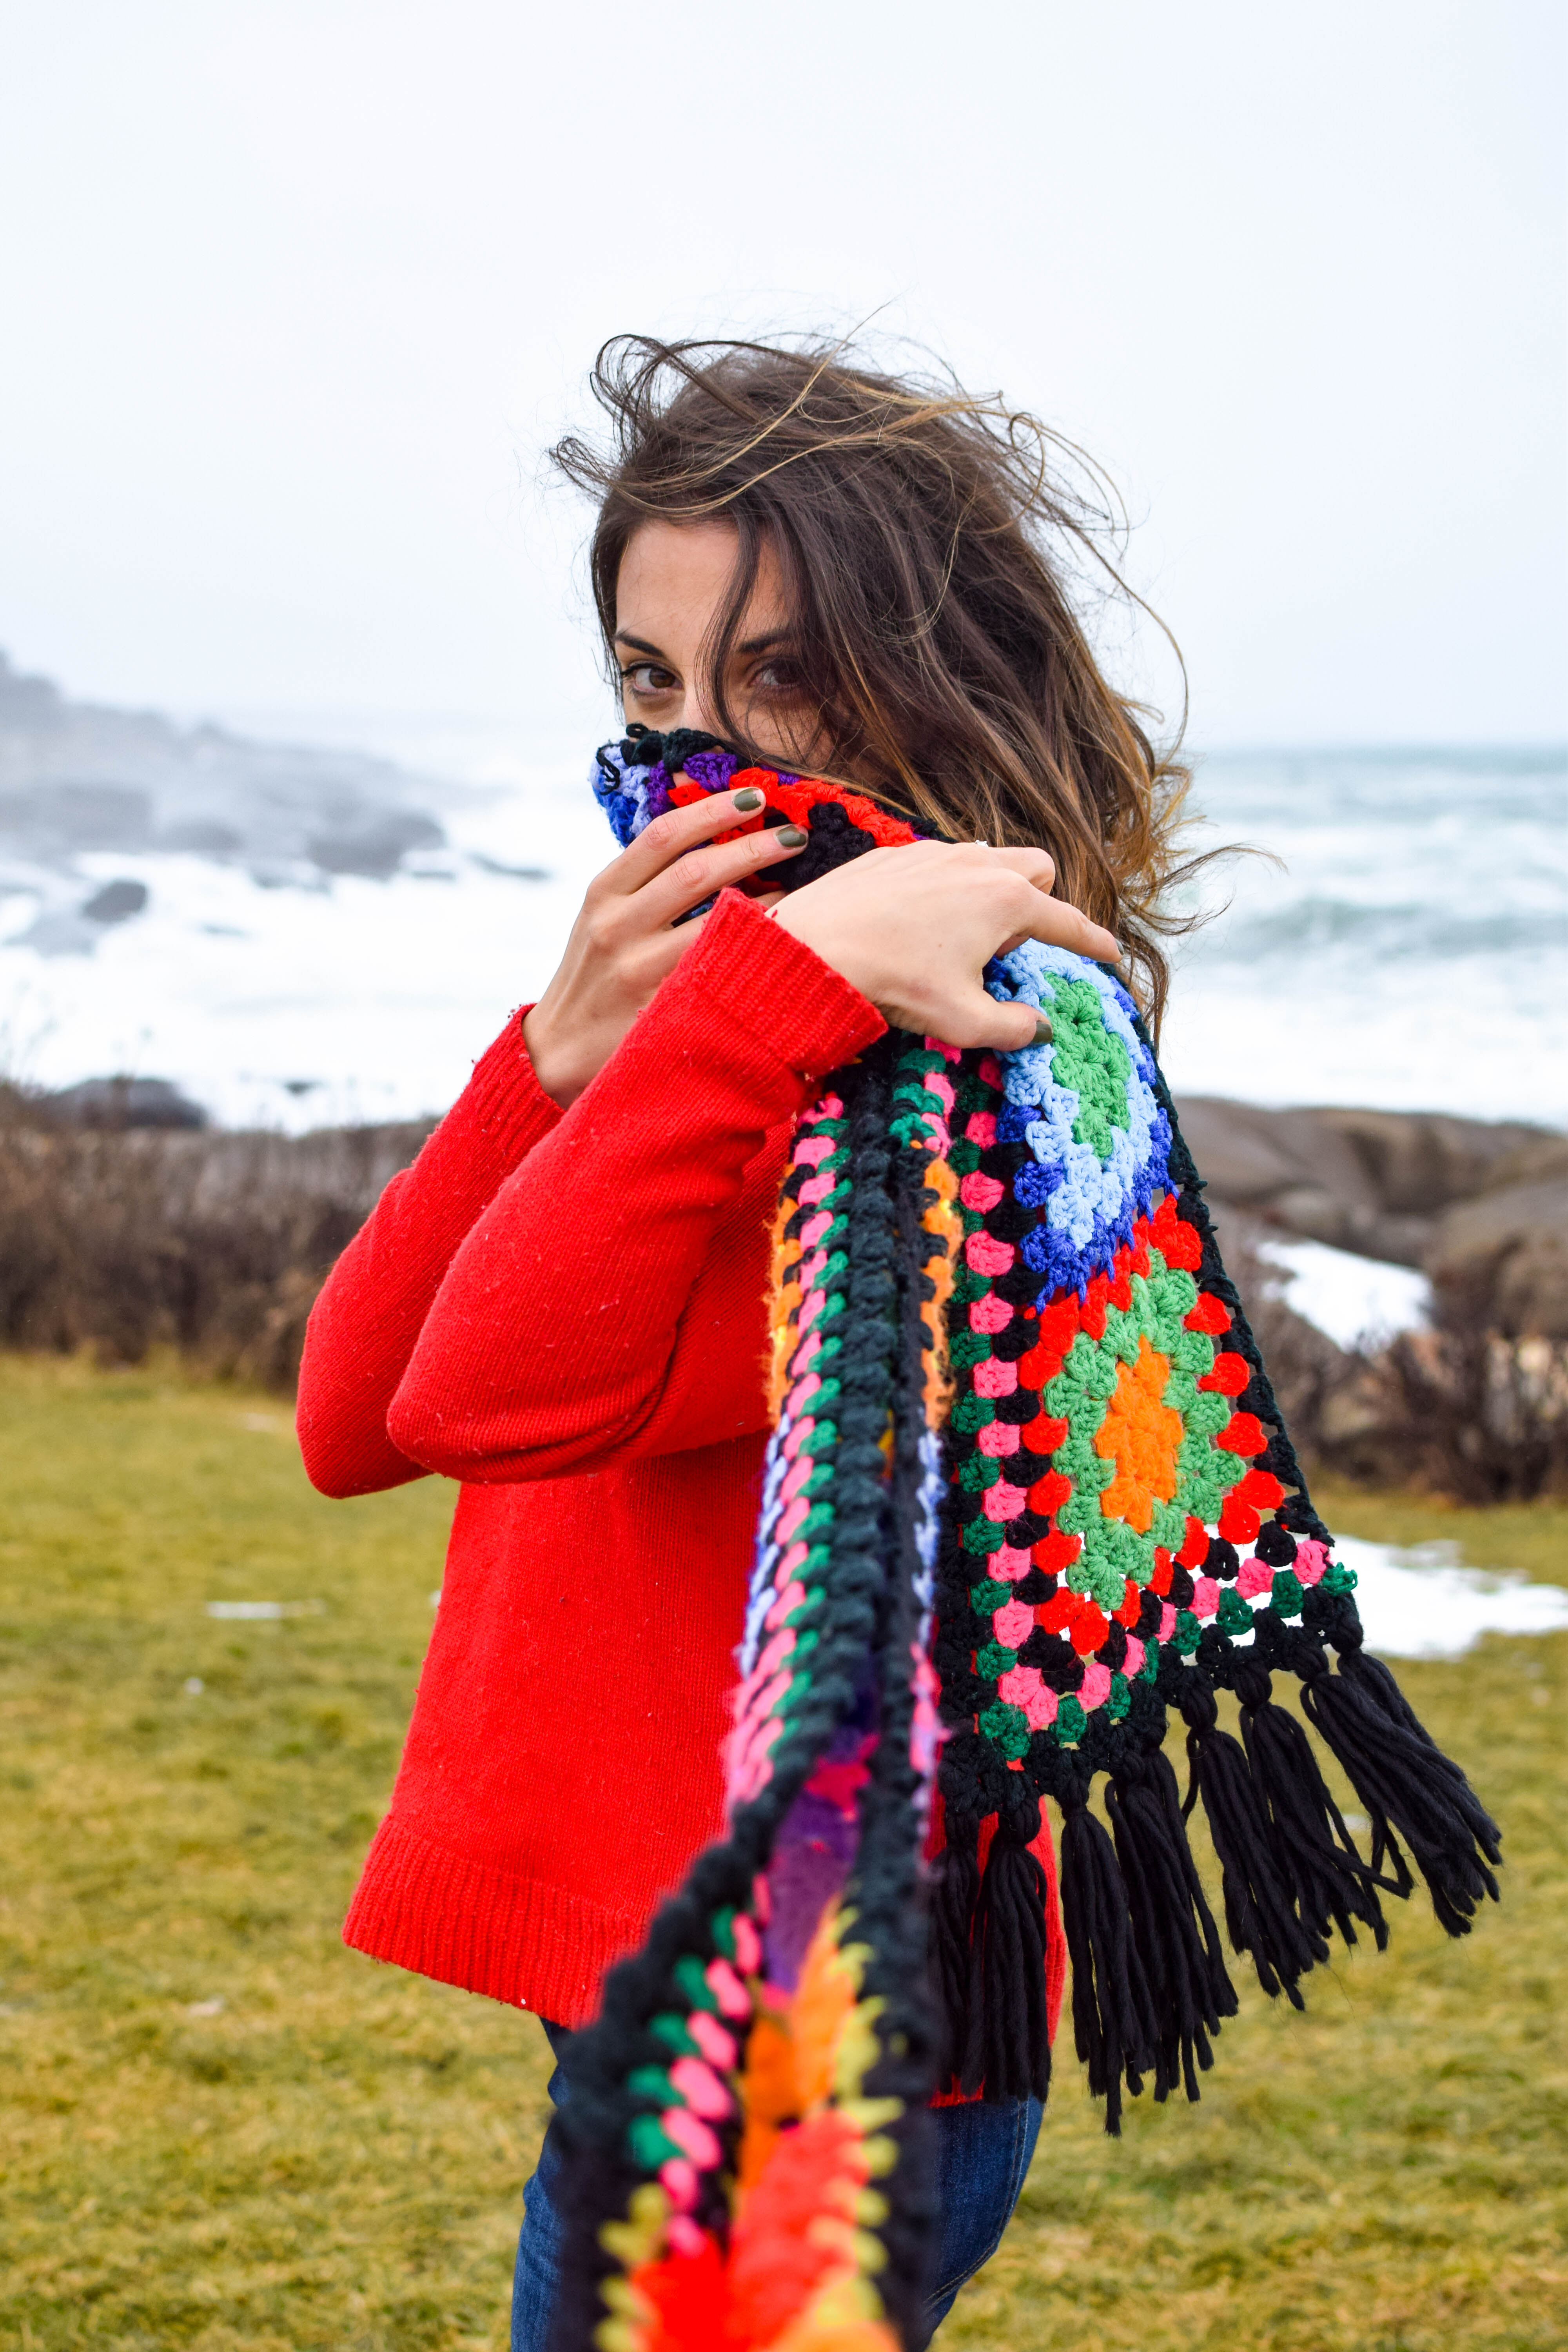
I’m a huge fan of the granny square, the colorful patterns are equal parts eye catching and sentimental. I find so many of them stuffed into the sales racks of the thrift store begging for a new life. Luckily, you can use these colorful quilts without even knowing how to crochet.
I created this granny square scarf from a blanket I thrifted and it’s lasted through 2 projects so far! I love that this tutorial is easy and warm! What can be warmer than wearing a blanket?
Like this tutorial? Check out my granny square sweater tutorial here. I used the same source quilt for this project!

Materials for Granny Square Scarf
Granny square quilt or ~ 12 granny squares
Sewing machine OR crochet hook and yarn
1 skein black craft yarn

Instructions
Step one: Separate your granny squares by cutting the yarn opposite your “border”. The edges of each square are interlocked. Where the squares meet there should be two colors, cut the yarn away from the square you are using to ensure that you keep the square you are using intact.
Step two: Create a row ~12 squares long. Depending on the length of your source quilt, you may not have to connect the row to create your scarf. My granny square quilt was 4 squares wide, so I connected them 3 times. I used a simple crochet stitch to connect each set of squares, but a sewing machine works just fine as well.
Step three: Create your tassels. I put 7 tassels on the end of my scarf, as this aligned with the number of stitches. However, there is no right answer here. To create your tassels: wrap yarn around a book/cardboard 7-8x and tie in the middle. Cut ends and remove from cardboard. Tie knot with string around and attach to work. Confused: use this link.


Leave a Reply