Your cart is currently empty!

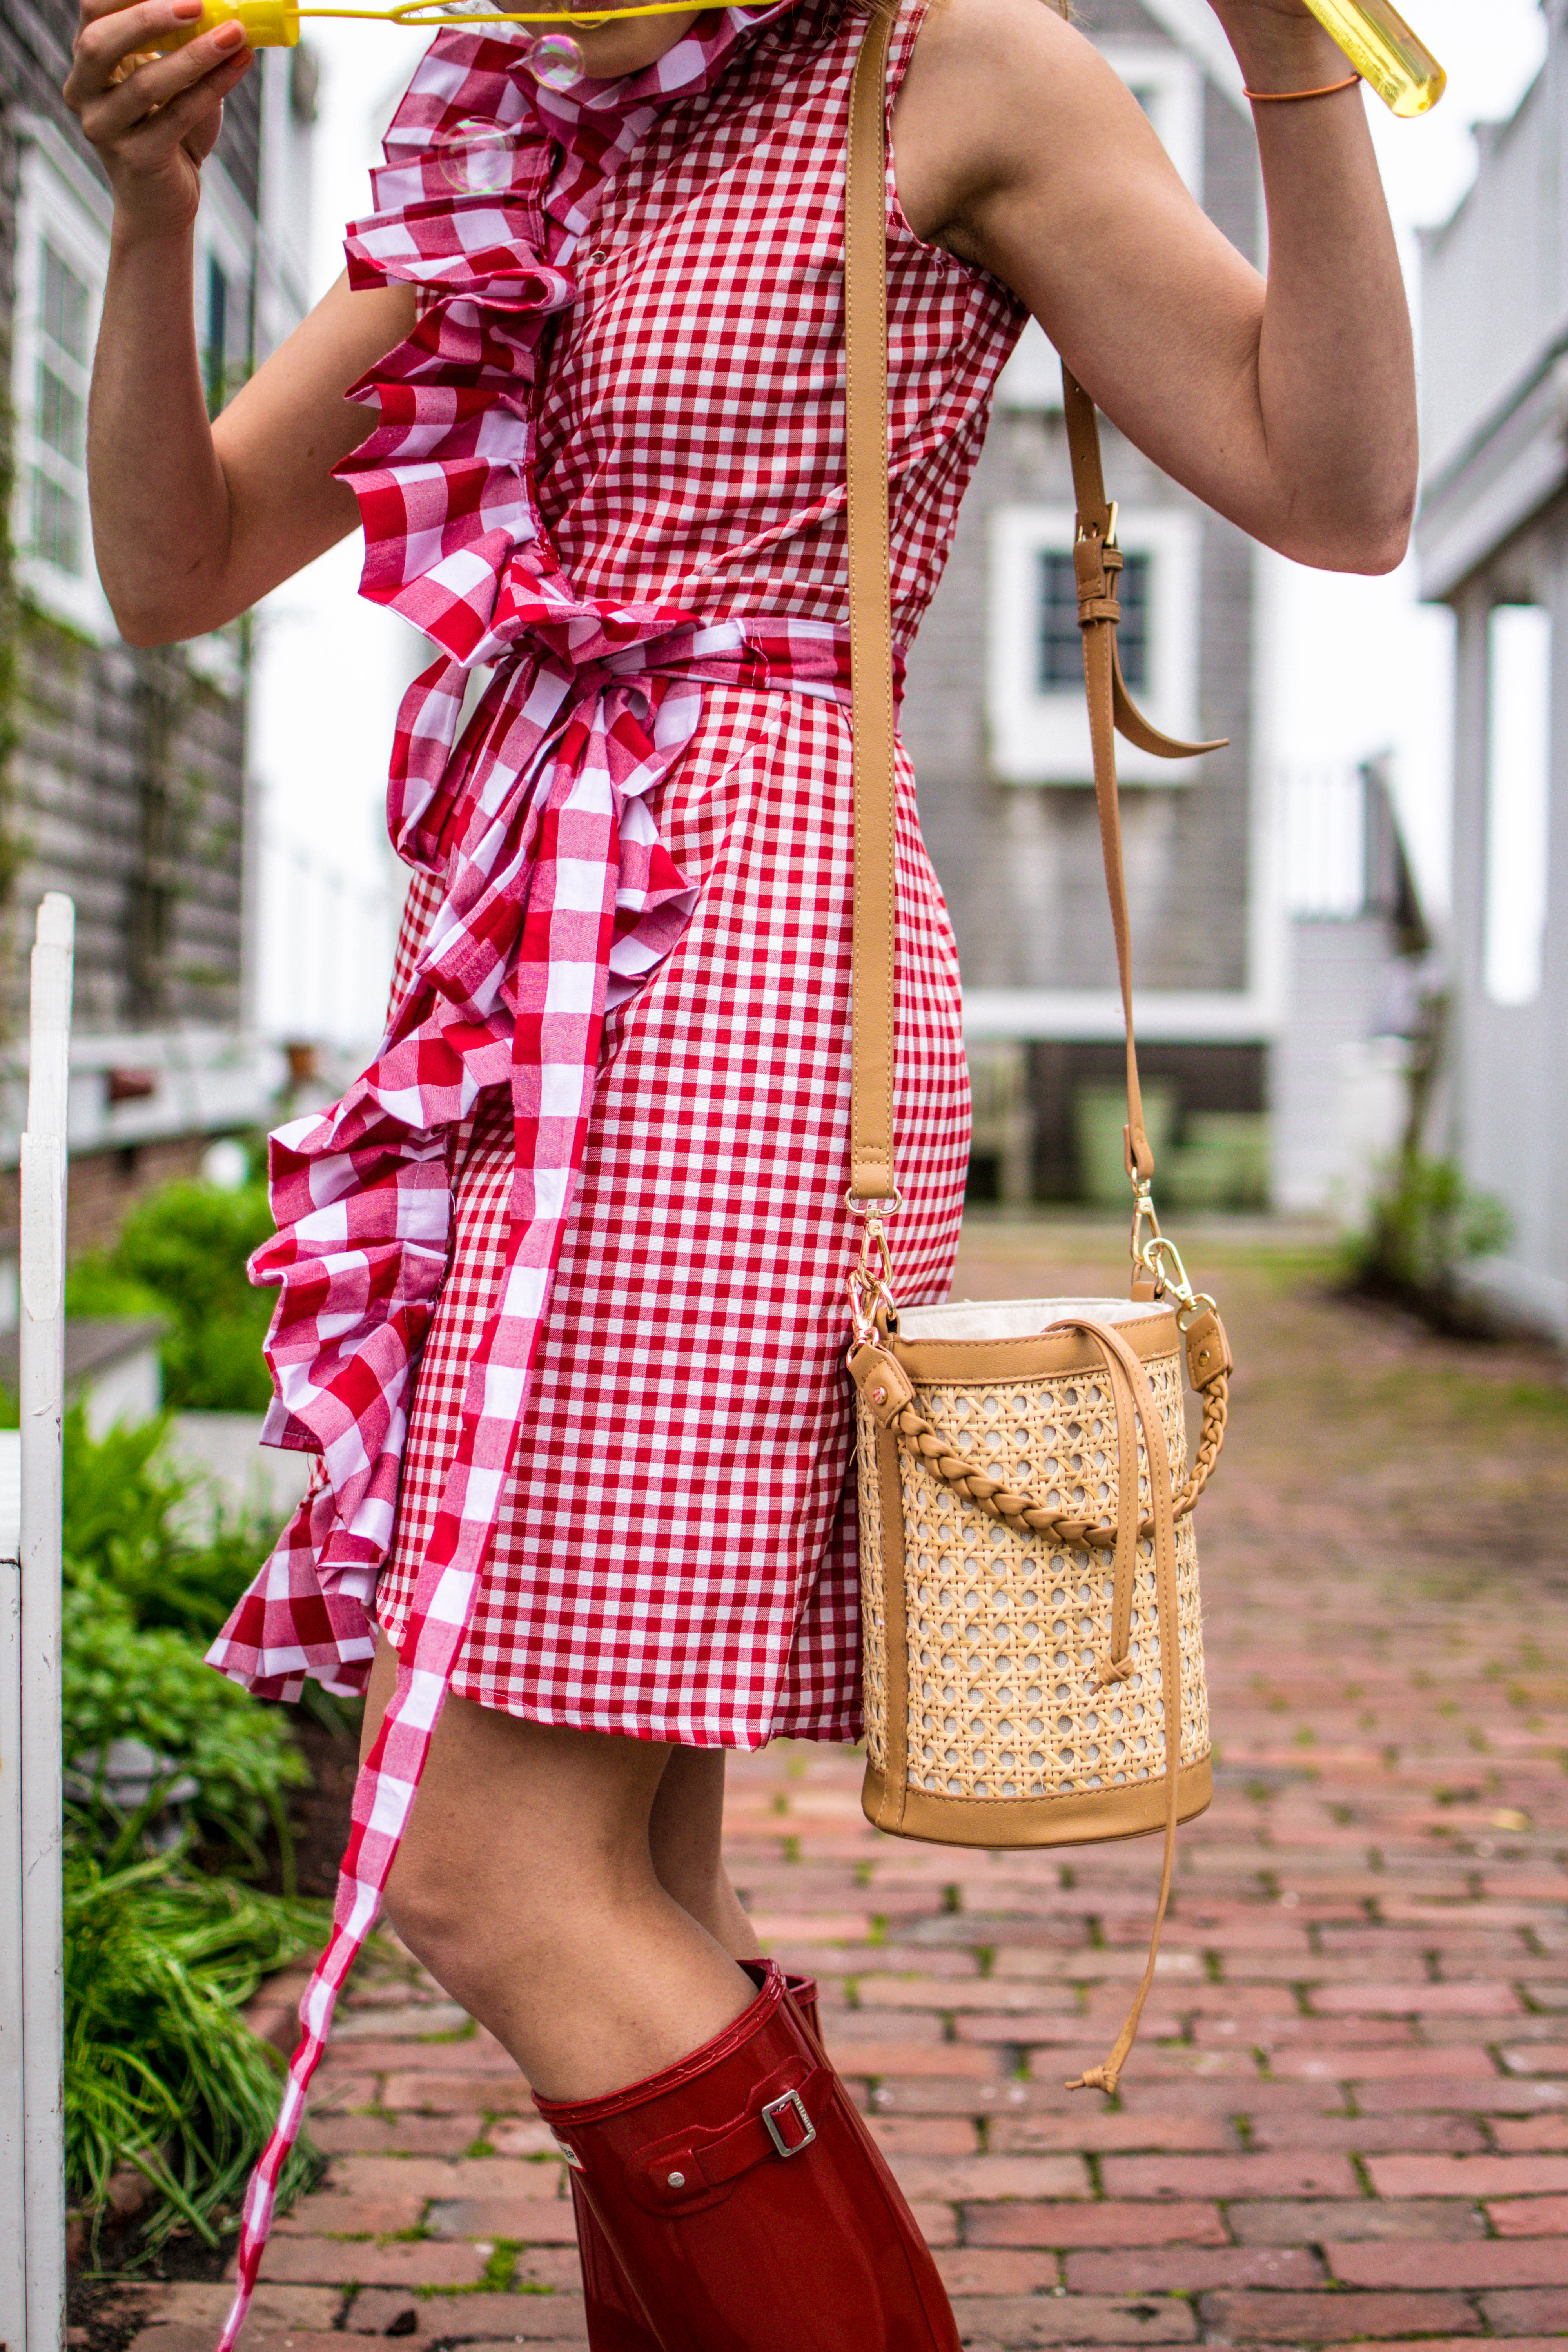
This gingham ruffle wrap dress might be the happiest wardrobe piece I’ve ever made. The contrasting gingham, which is now this dress’ signature, started as a happy accident. When I went the fabric store they didn’t have enough small check fabric to cover the ruffle of the dress. After a quick look around the store, I found this wide print to complement.
I wore this number during our trip to P-town! woo! and wanted to stand in front of the iconic “flag house” for the photo. While it was still a little early for the house’s classic flag, I was still able to capture the magic of this dress! Of course, the bubbles never hurt.
You can read our full Provincetown, MA guide with the Salt House Inn here:
Going to Provincetown, MA –> check our my guide here

Materials
3 yards (small check) gingham fabric
1 yard (big check) gingham fabric
sewing machine
don’t have a sewing machine? that’s okay read my suggestions here


Instructions for Gingham Wrap Dress

step one: First things first, let’s cut out your pattern pieces. I used an existing dress to make the wrap design. The waistband & skirt pieces should be the entire length of your waist plus extra fabric to that you can overlap the wrapped skirts. To create the overlap, will need to add 1/3 of your waist to the length so that it overlaps at the front
For example, my waist measurement is 24 inches, so I cut 32 inches on the fabric, where there is a 8 inch overlap. For the ruffle, you will want to cut at least 3 times the width of your waist measurement (plus overlap) to give it volume. The more fabric you create for the ruffle, the more volume it will have. Additionally, It depends on how long you want your ruffle to extend. Mine goes ALL the way behind the neck – which I realize isn’t for everyone.
step two: Attach the bodice pieces at the shoulders.
step three: Now, attach the bodice pieces by sewing down the each side. Hem the armholes to reduce fraying.
step four: Wrong sides together, pin and sew the skirt pieces together.

step five: Attach the bodice piece to the skirt by sewing around the waist.
step six: Attach the ruffle to the edge of the dress as picture, folding ever 2-3 inches to create the gathered look. Lastly, create the belt with any additional ruffle fabric not used.

Pairs well with Sylvan Esso’s last album, ice cream in a cone, and rainy sunny days


Leave a Reply