Your cart is currently empty!

Floral Hippie Jean Tutorial – how to stencil jeans

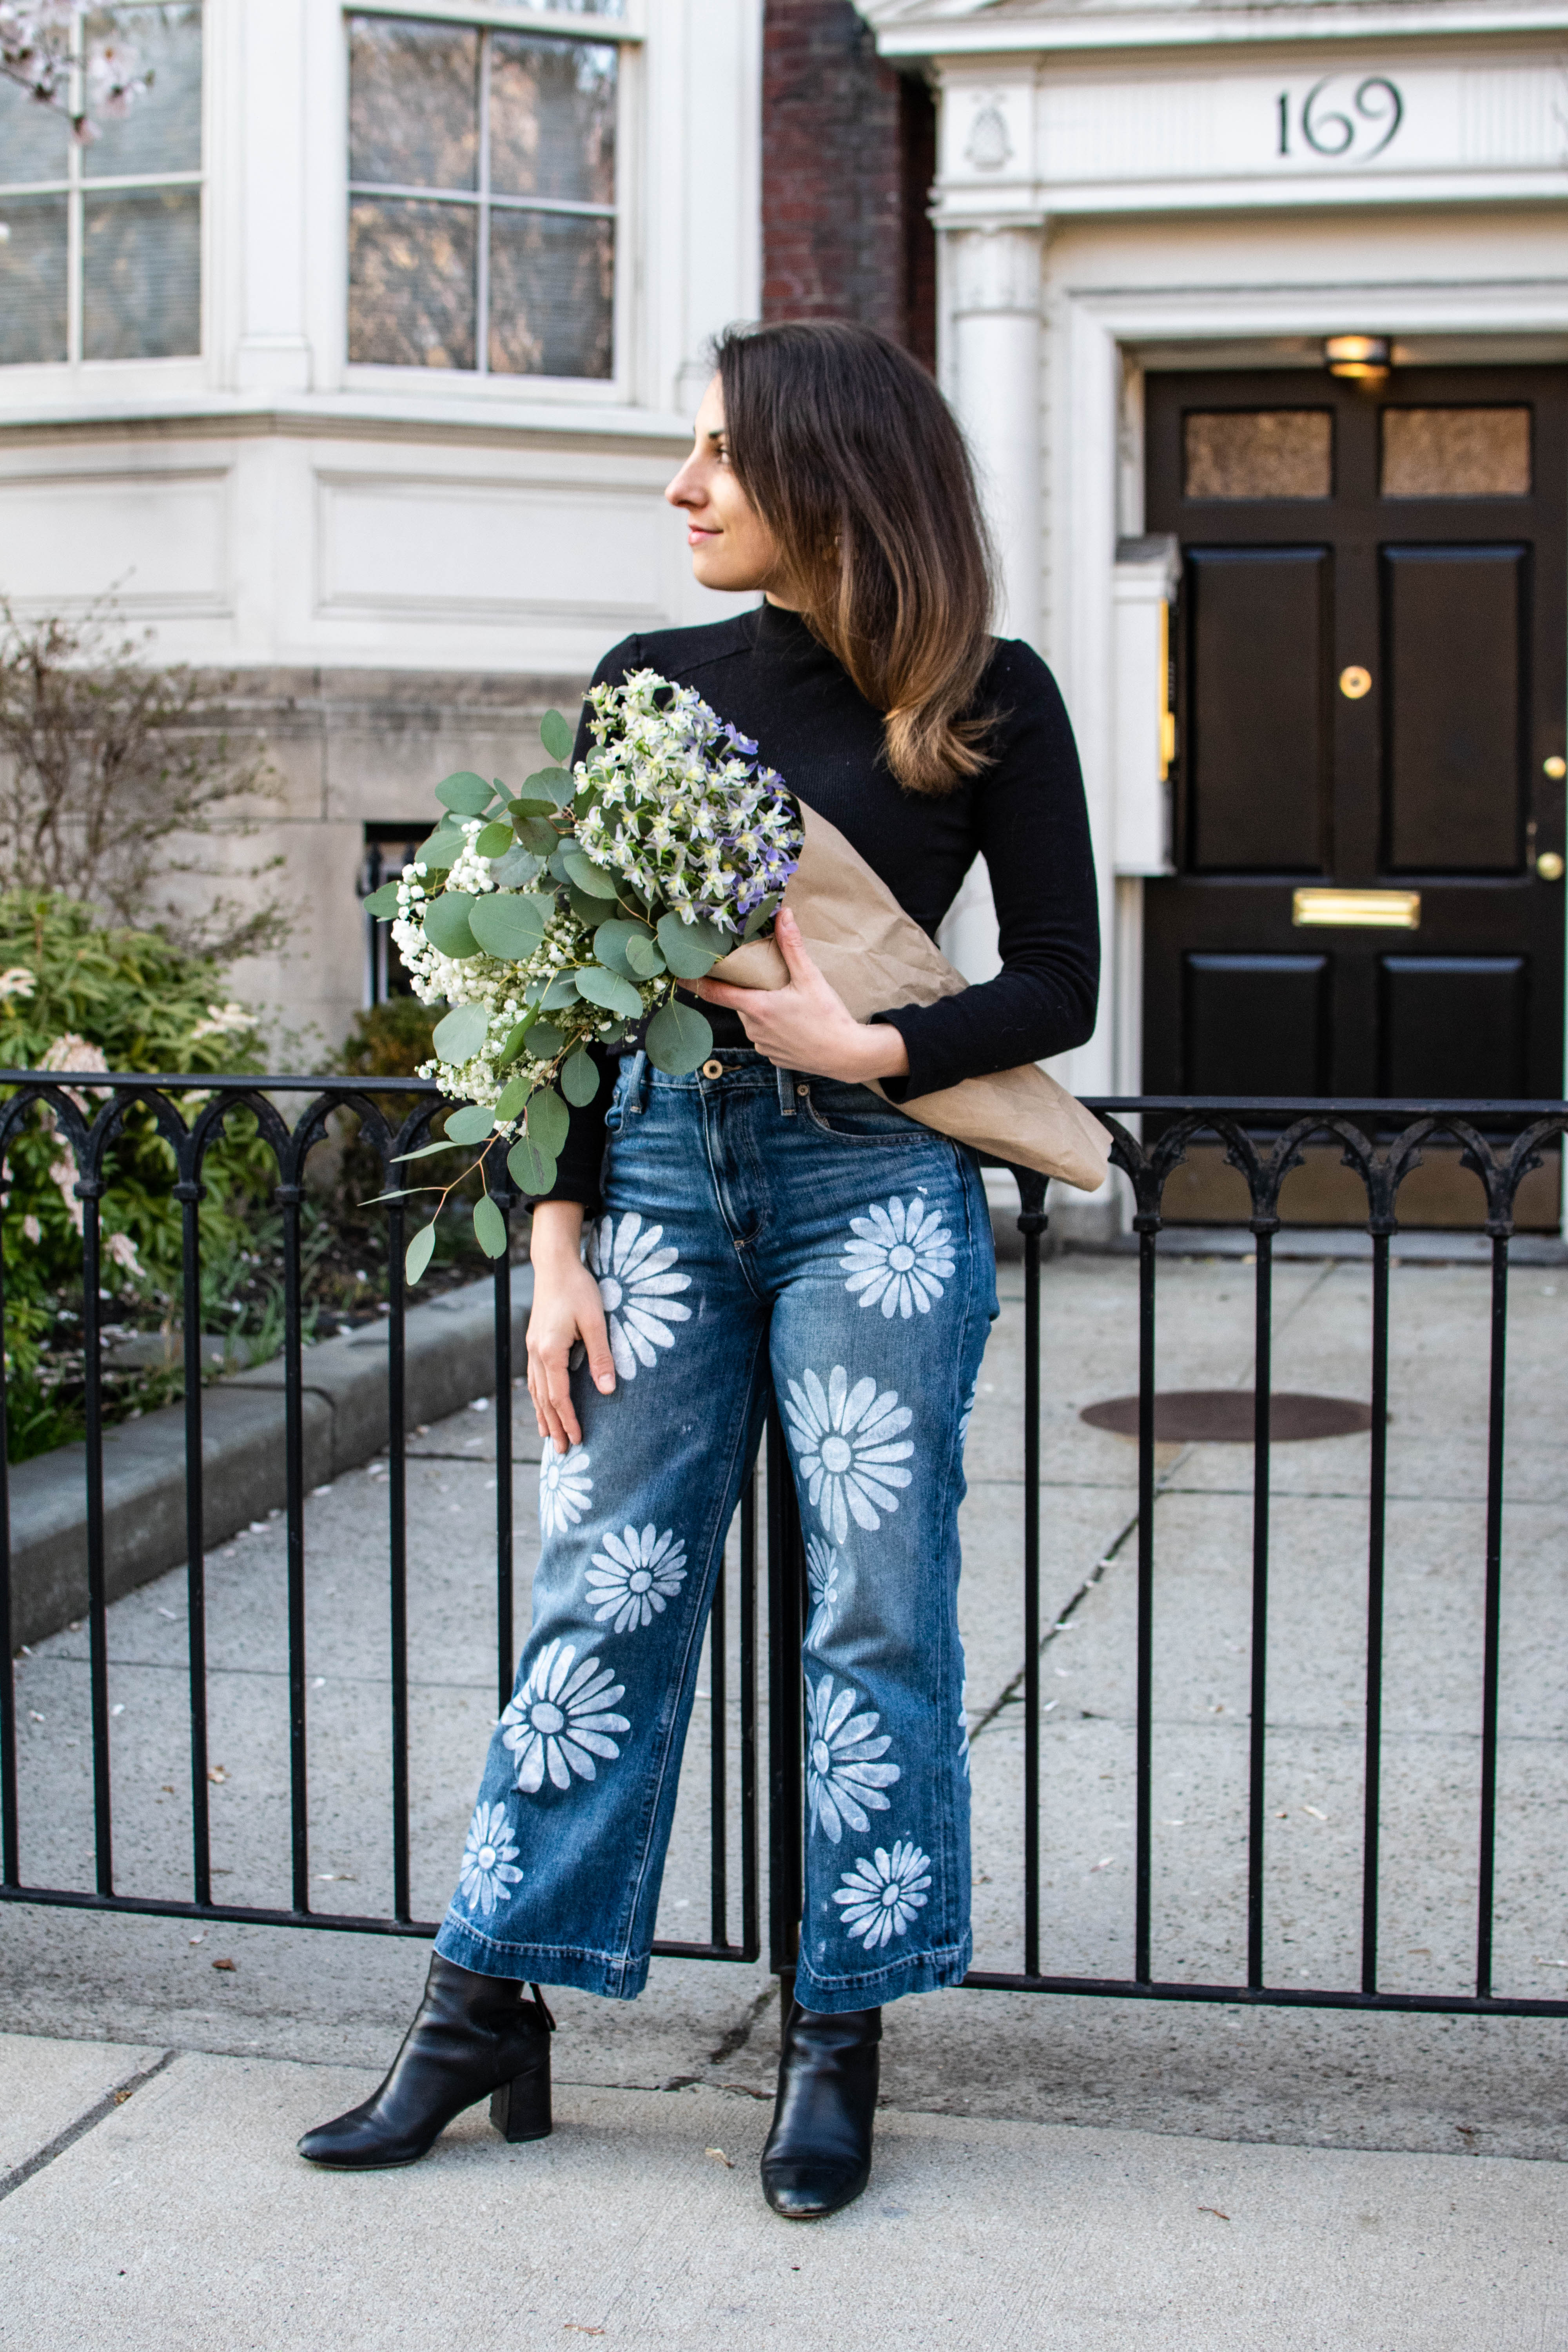
The seventies are back baby, and man am I jazzed about it! I love the high waisted, wide leg looks that my youth at the turn of the millennia denied me. Goodbye low rise everything, it was a weird relationship and i think it’s best we part ways. As many of you know, I have been getting deep into up-cycling denim this spring – as it is a easy, no fuss way to get more wear out of your wardrobe. To stencil jeans, as I will show you with this floral hippie jean tutorial, is so easy and versatile.
The best part about this tutorial is how AMAZING it turned out. I bought theses wide fit jeans from a thrift (back when they were open) for eight dollars.
If you like this idea, you’ll love my tutorial on how to create these fun fringe jeans !

Materials to Stencil Jeans
stencil (mine is homemade with my Cricut)
Spray adhesive
fabric paint or
acrylic paint mixed with fabric medium (1:1)
foam blotter


Instructions
Step one: Put your jeans (or denim on a flat surface).

Step two: spray the back of the stencil with spray adhesive, per package instructions. Place as press lightly and firmly to adhere to fabric.

Step three: Blot the paint on the denim to cover the entire area. Make sure not to saturate the fabric. This will cause bleed underneath the stencil.

Step four: peel up stencil (don’t wait until dry) and repeat
Your new stenciled jeans look amazing! And they were so easy to make. You can also repeat this process with bleach for a more faded effect.
These are for Pinterest. Do you follow me there? It’s where I keep my best ideas. Follow me her

Leave a Reply