Your cart is currently empty!

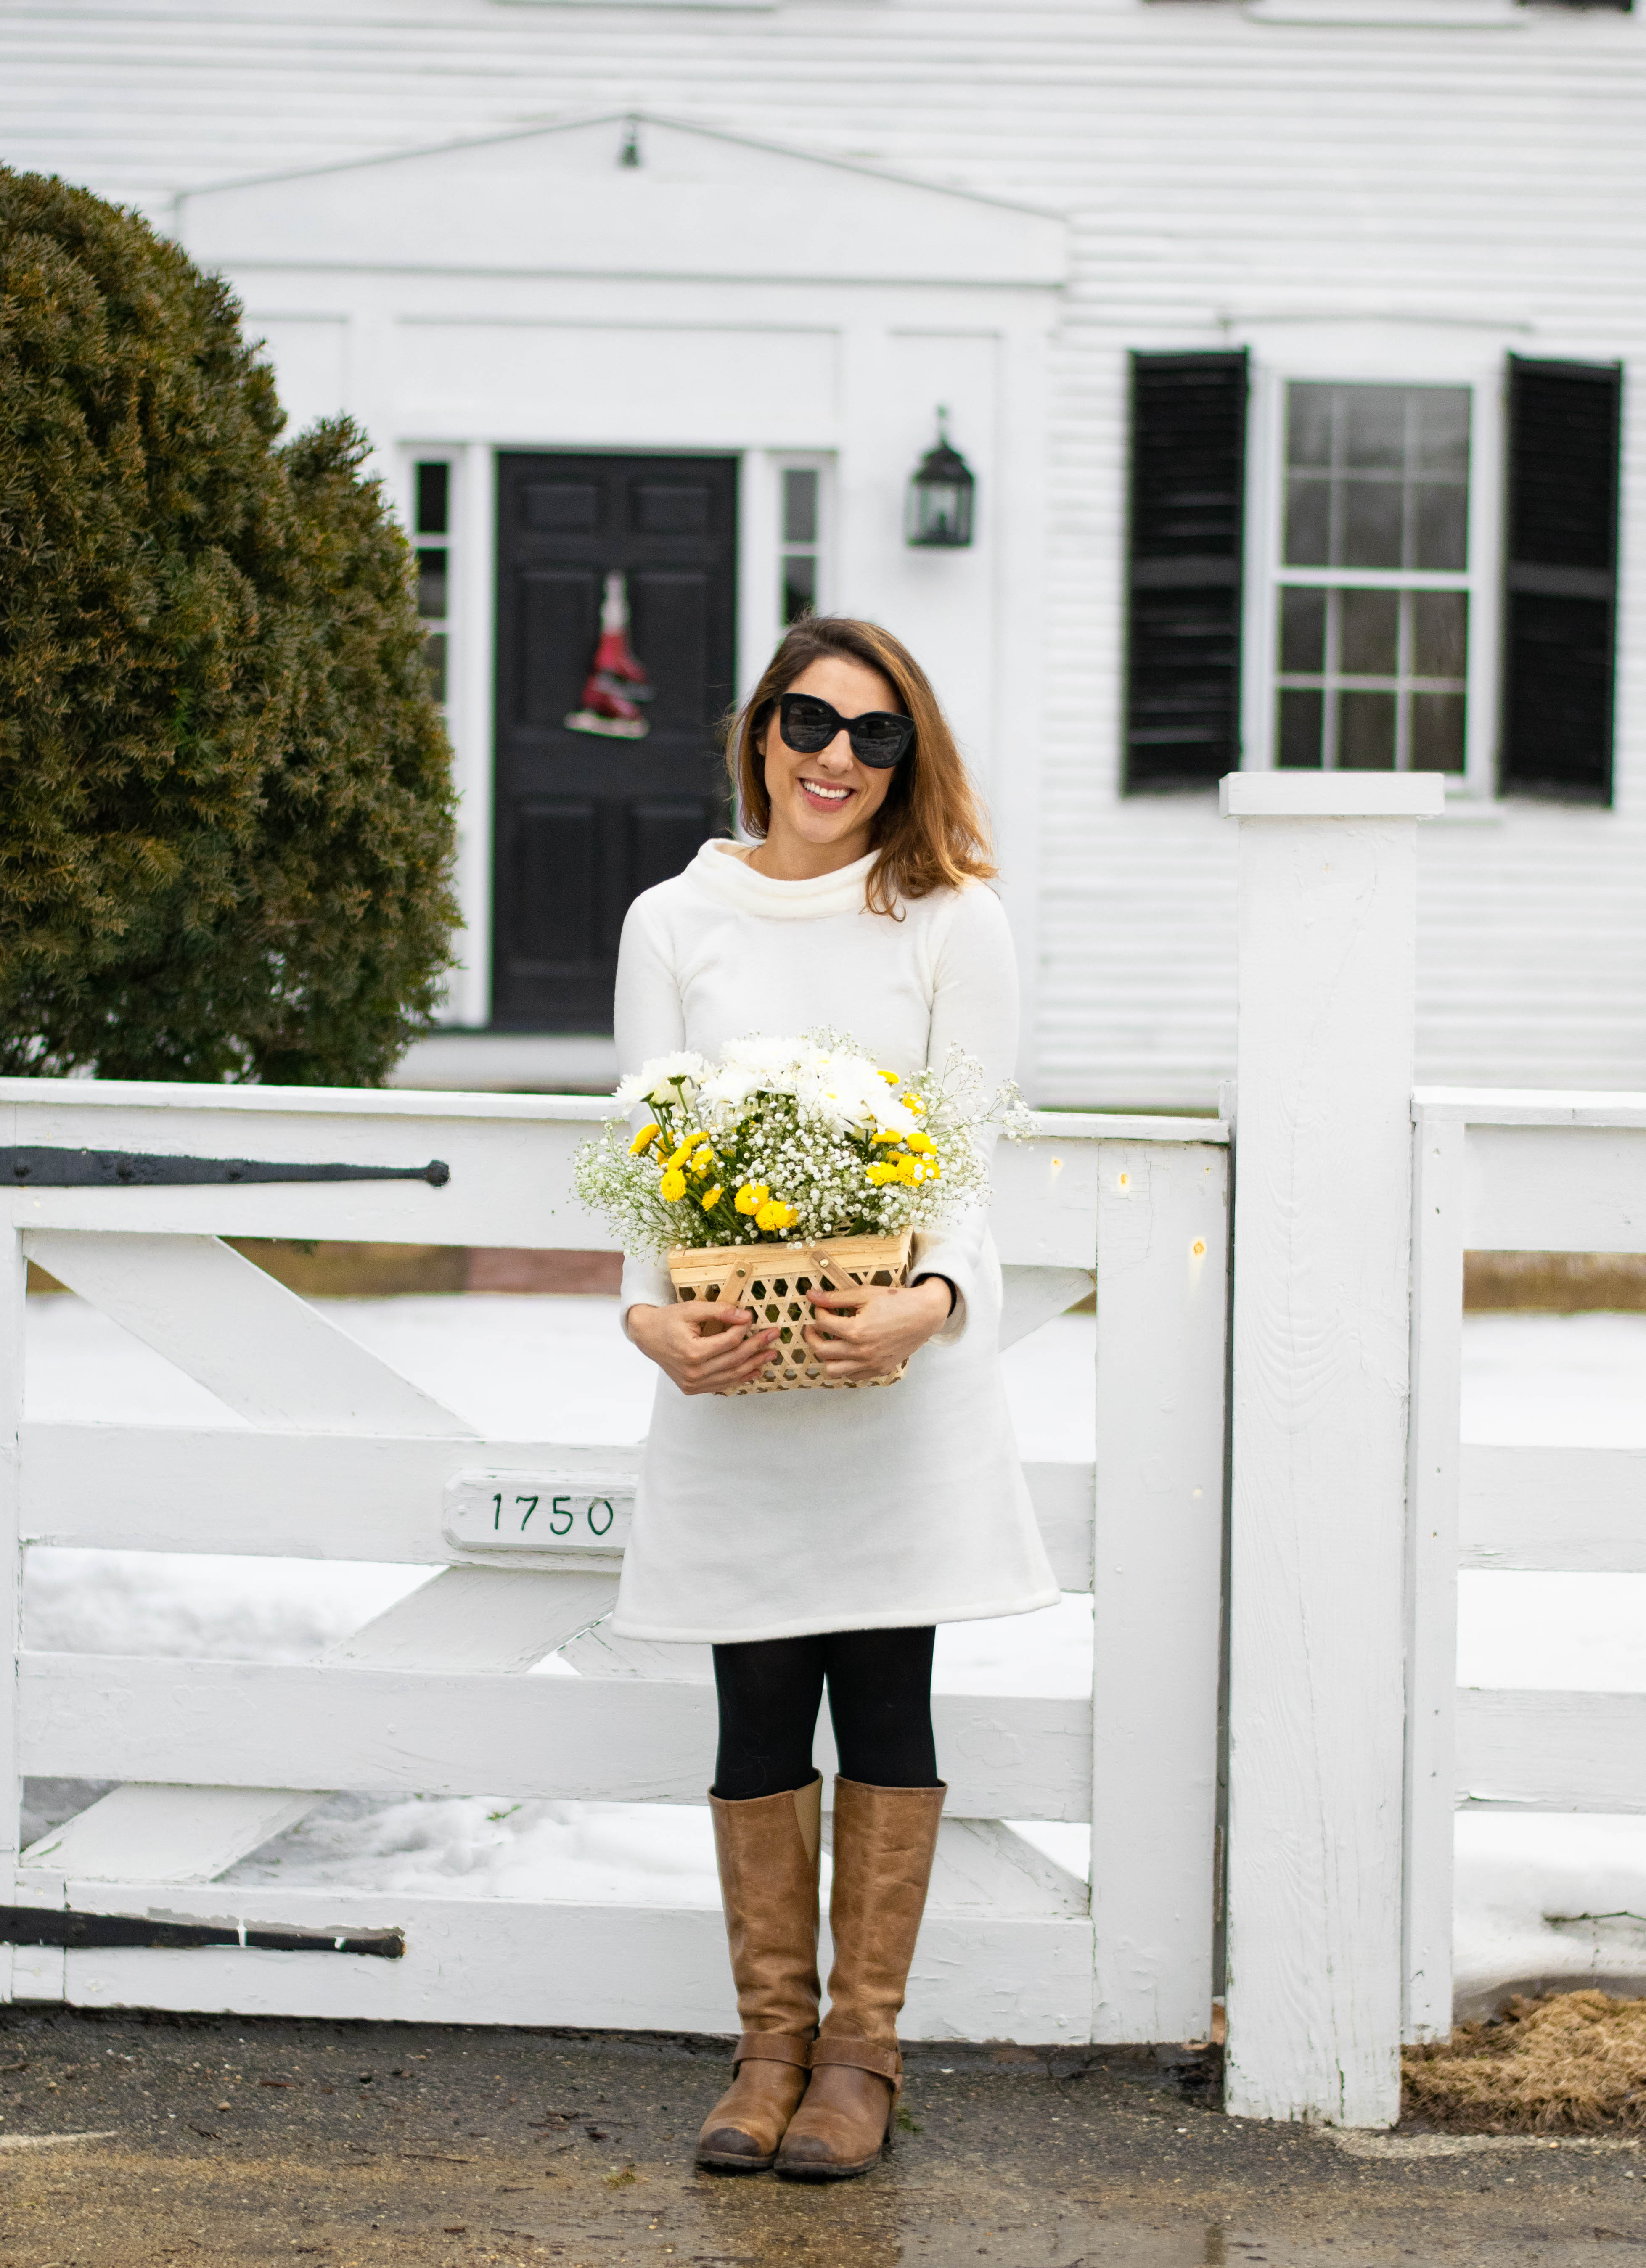
Raise your hand if you’ve ever been personally victimized by New England spring weather? Sure enough, April will bring another snow storm and I’ll be at wits and wardrobes end of cute cold weather outfit. With this fleece dress project, I wanted to share how easy it is to create warm spring style. Additionally in choosing white fleece, I figured if I dressed like the lamb maybe the weather would follow no?

In making a comfortable fleece dress – I combined style, comfort, and economics. Yes, this dress cost me less than 10$ to make. It also is a very forgiving fabric to work with. For beginner sewers, fleece wants to be sewn. It is strong, soft and generally behaves when you sew it together. I used a self drafted pattern, which I will explain in greater depth in this post combined with a pattern from my favorite book BurdaStyle’s Sewing Vintage Modern.
This book is a great tool if you are uncomfortable drafting patterns from your existing wardrobe pieces.

Materials
BurdaStyle’s Sewing Vintage modern (Jackie Dress pattern)
2 yards (per pattern suggestion) fleece
Matching thread
7″ zipper
button and small piece of thin elastic
Sewing Machine
Instructions
MAKE YOUR PATTERN: The first and most important step is creating your pattern. Don’t let me lose you here! I am a self taught seamstress and this is not as hard as it sounds. That’s why I suggest purchasing BurdaStyle’s book. You can get familiar with how patterns look before they are sewn. For example, arm holes are different shapes depending on the front and back (to compensate for your back!) so getting to know how a pattern should look will help you in the future.
Give yourself a measure – this book has a guide to understanding your measurements. Once you have recorded your measurements (waist, chest, hip) – use the pattern guide to determine the size of pattern you should trace! Ta-da! that easy.
If you are self drafting a pattern: You should have 3 pattern pieces. Front, back, and collar. The collar will just be the distance of the neck (front and back) + 2 inches for seam allowance. Make it 6 inches wide. Additionally, I cut pattern peices to create pockets. (sew! easy). There is a great tutorial for adding pockets to your pattern here!

CUT YOUR FABRIC: On a flat surface, iron your fleece with proper iron settings (fleece can be made of polyester so it is important the iron is not too hot!). Once creases are removed, pin your pattern pieces to the fleece as indicated by the diagram below. (above)
ADD ZIPPER: Sewing the back pieces together (as per pattern instructions), insert a 7″ inch zipper. Honestly, I put this puppy on and don’t even need the zipper, but it’s up to you. (above)
CONNECT SHOULDER PEICES: Flip the garment so right sides are together, pin the front and back pieces at the shoulder. Sew to connect. (Above)

ADD SLEEVES (OPTIONAL) OR FINISH ARMHOLES: Once your shoulders are connected we can move on to the arm holes. If you do not wish to add sleeves, sew along the wrong side of the arm hole to create a clean, finished edge. If you do wish to have sleeves, open the dress so each side is laying flat on a working surface. Create your Sleeve pattern by tracing along the edge of the connected armhole. Choose desired length of sleeve and create a decreasing angle down to the end of the sleeve (as pictured above). Cut out the sleeve, pin, an sew to connect to arm hole.
ATTACH POCKETS (OPTIONAL): Add pockets at the waist by following this tutorial. only attach the pocket one pattern piece. The next step will sew them together to create the pocket.
SEW DOWN THE SIDES: flip the dress so that the pockets are splayed outward. From the end of the sleeve, sew up the arm, turning to sew down the bodice and around each pocket. Finish at bottom of dress. (as pictured above)

ATTACH THE COLLAR: At this point your dress should be looking almost finished! Flip your dress right side out. Stop to admire your work. nice job. Now let’s attach that collar. Taking your collar piece ( which should look like a big ‘ol rectangle), attach the bottom of the collar piece to the front* of your dress at the neckline. Sew around to seal. Now, fold the collar piece back on itself. The result should show a nice, finished edge on the the front of the garment and a rolled, thicker piece of fleece as your collar. Seal the openings at the back and add a button/ loop of elastic to close. A toggle would also look pretty amazing.

TRY ON DRESS AND HEM: Try on your dress and determine how long you want it to be. Press edge, pin and hem to desired length.
Like this DIY? you might like my other creations here:


Leave a Reply