Your cart is currently empty!

A DIY beach tent that is adjustable to the sun!

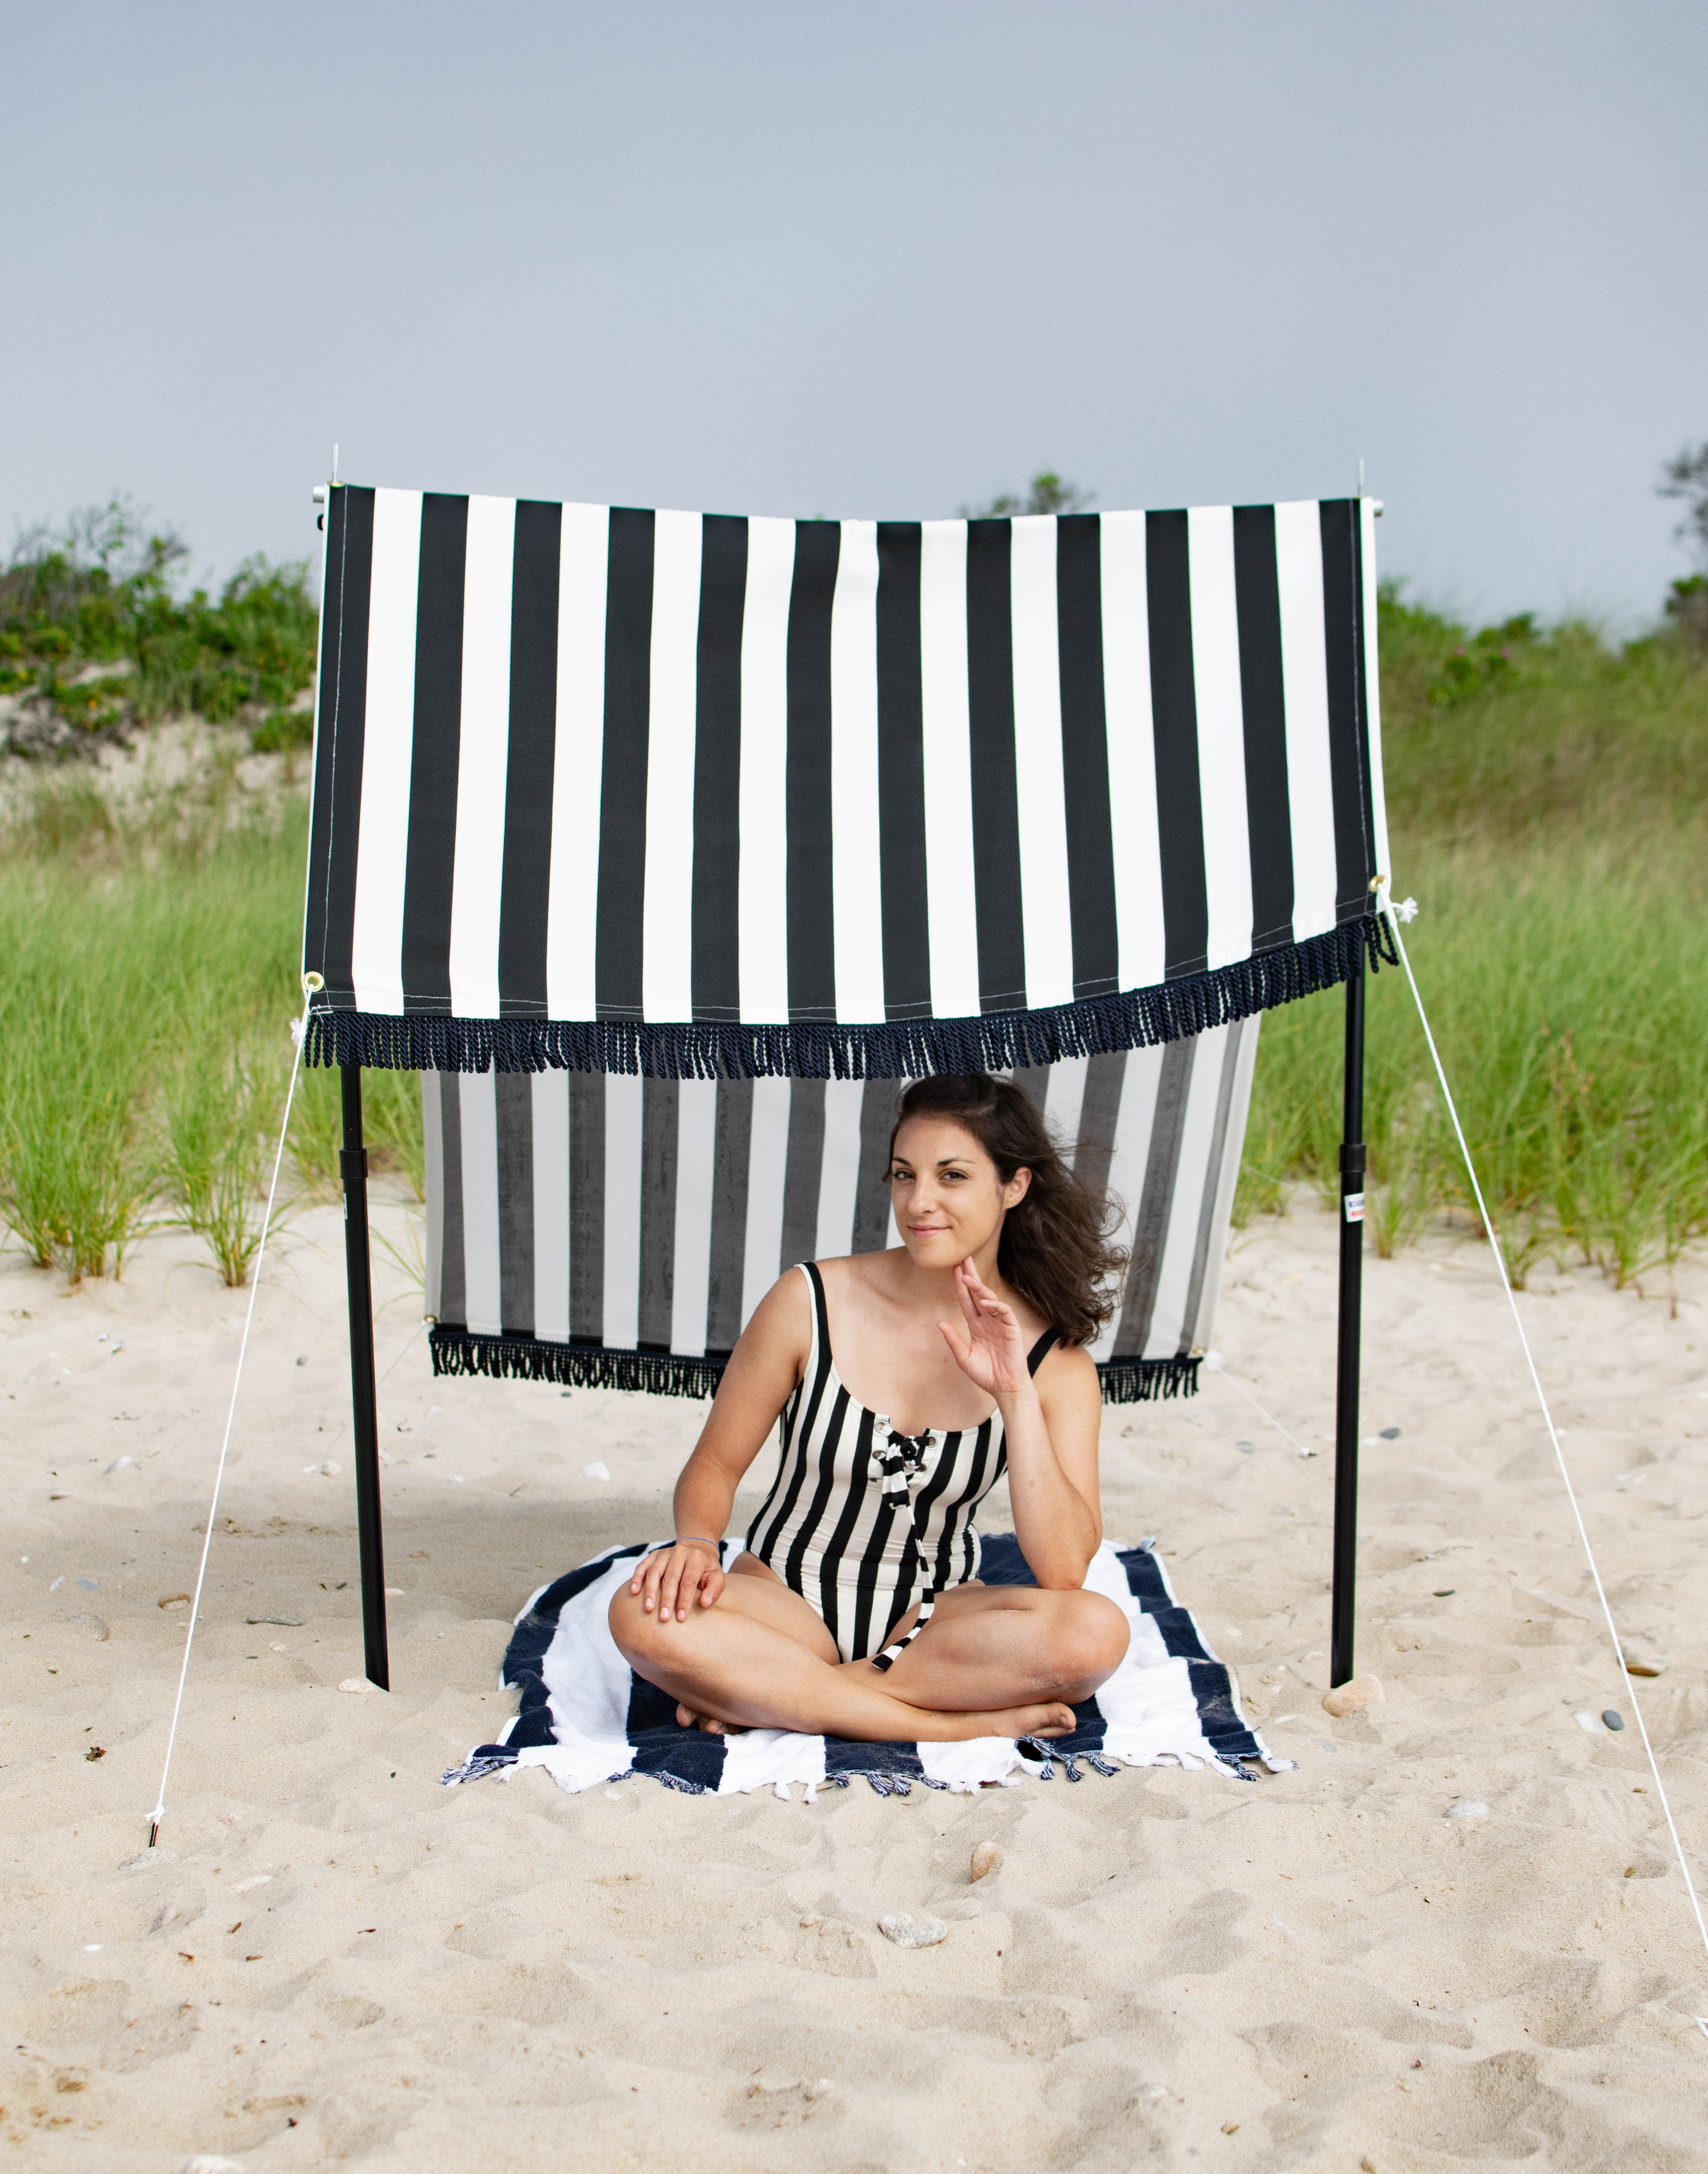
I am not a sunfish. In fact, I find the harsh rays of the sun on the beach to be draining. I end up exhausted, barely being able to open my eyes in the car ride home. However, this past week, my family rented a house on Block Island and I wanted to find a way to enjoy our time on the beach together while giving myself some much needed shade. This DIY adjustable beach tent was the answer !
My favorite part about this beach tent is that the shade itself is adjustable. I installed two sets of grommets, which I will show you in this tutorial, in order to change the position throughout the day & maximize your shady shelter. This gives you more time on the beach, without having to adjust too much.
I’m also obsessed with the navy stripe pattern. It looks effortlessly European chic AND makes my favorite beach towel. If you don’t own this Serena and Lily beach towel, you are doing yourself a disservice. While it can be seen as a splurge, the quality speaks for itself.
If you need more beach ideas, check out this tutorial on how to make a tasseled beach hat.

For my beach tent I used outdoor canvas fabric. I am fortunate to have a discount fabric store near my house that makes this about $6 per yard. However, in traditional stores this fabric can be quite pricey. I would suggest using a coupon (many fabric stores offer them!) or using two shower curtains sewn together to create the weatherproof shade. Traditional cotton weave is not thick or sturdy enough to combat the elements so using this tougher fabric is best.

In terms of the structure itself: this DIY beach tutorial shows you two ways to create the beach tent. In creating mine, I wanted to make sure it could collapse down into the tent poles bag. That way it is not only easier to carry on the beach, but also to store in the car or our apartment. However, we found that having a collapsible center pole does make the structure more likely to bend to the wind. So, I’ll explain how to create a DIY adjustable beach tent that: you can collapse OR just have one singular cross bar for a sturdier structure.
Materials for DIY adjustable Beach Tent
2 shower curtains or 3 yards of 52-60″ outdoor fabric
3 yards fringe
Stakes (these)
Nylon rope (white)
8 Grommets (any size, but >1/2″ works best)
52-60″ of 1/2 inch aluminum conduit
OR
26″ 1/2 inch aluminum conduit and 26″ 3/4 inch aluminum conduit

Instructions
Press and sew the raw edges of the fabric on all sides. This creates the clean look of a professional curtain. Additionally, it ensures that the raw edges don’t fray, creating damage to the final product.
Install the grommets. I installed a grommet in each corner. Then, I folded my shade in half across the width to reveal the center. Next, I folded the fabric between the center and the edge. So, I installed a total of 8 grommets as illustrated below.

If you are intimidated by installing grommets – it is REALLY easy you just need a hammer and this video to convince you.

Next, attach the fringe with a sewing machine or industrial grade glue.
Now, let’s construct the center pole
Collapsible beach tent: Your center pole should be the distance between your center grommets. Mine was 51.5 inches, since my fabric was 55″ before I sewed down the raw edges. I cut each of my poles to be 30″. You must be thinking – well, 30″ times two doesn’t equal 51.5″. Well, you are right. However, the overlap will make the structure sturdier. I included a diagram below for you to determine where to drill your holes. For the middle holes, I secured with a flat screw and nut. (I suggest getting extras just in case one falls out in the sand).

Not collapsible:

Helpful tips: Please purchase your own stakes. The ones that come with the tent poles are complete junk. They do not hold tension on the structure, making it more of a kite than a tent. Buying these sand stakes will make your beach tent experience more enjoyable.
Have questions or concerns? I’m very active on instagram! DM or connect with me there.
These are for Pinterest. Do you follow me there? It’s where I keep my best ideas.


Leave a Reply